Open Create event
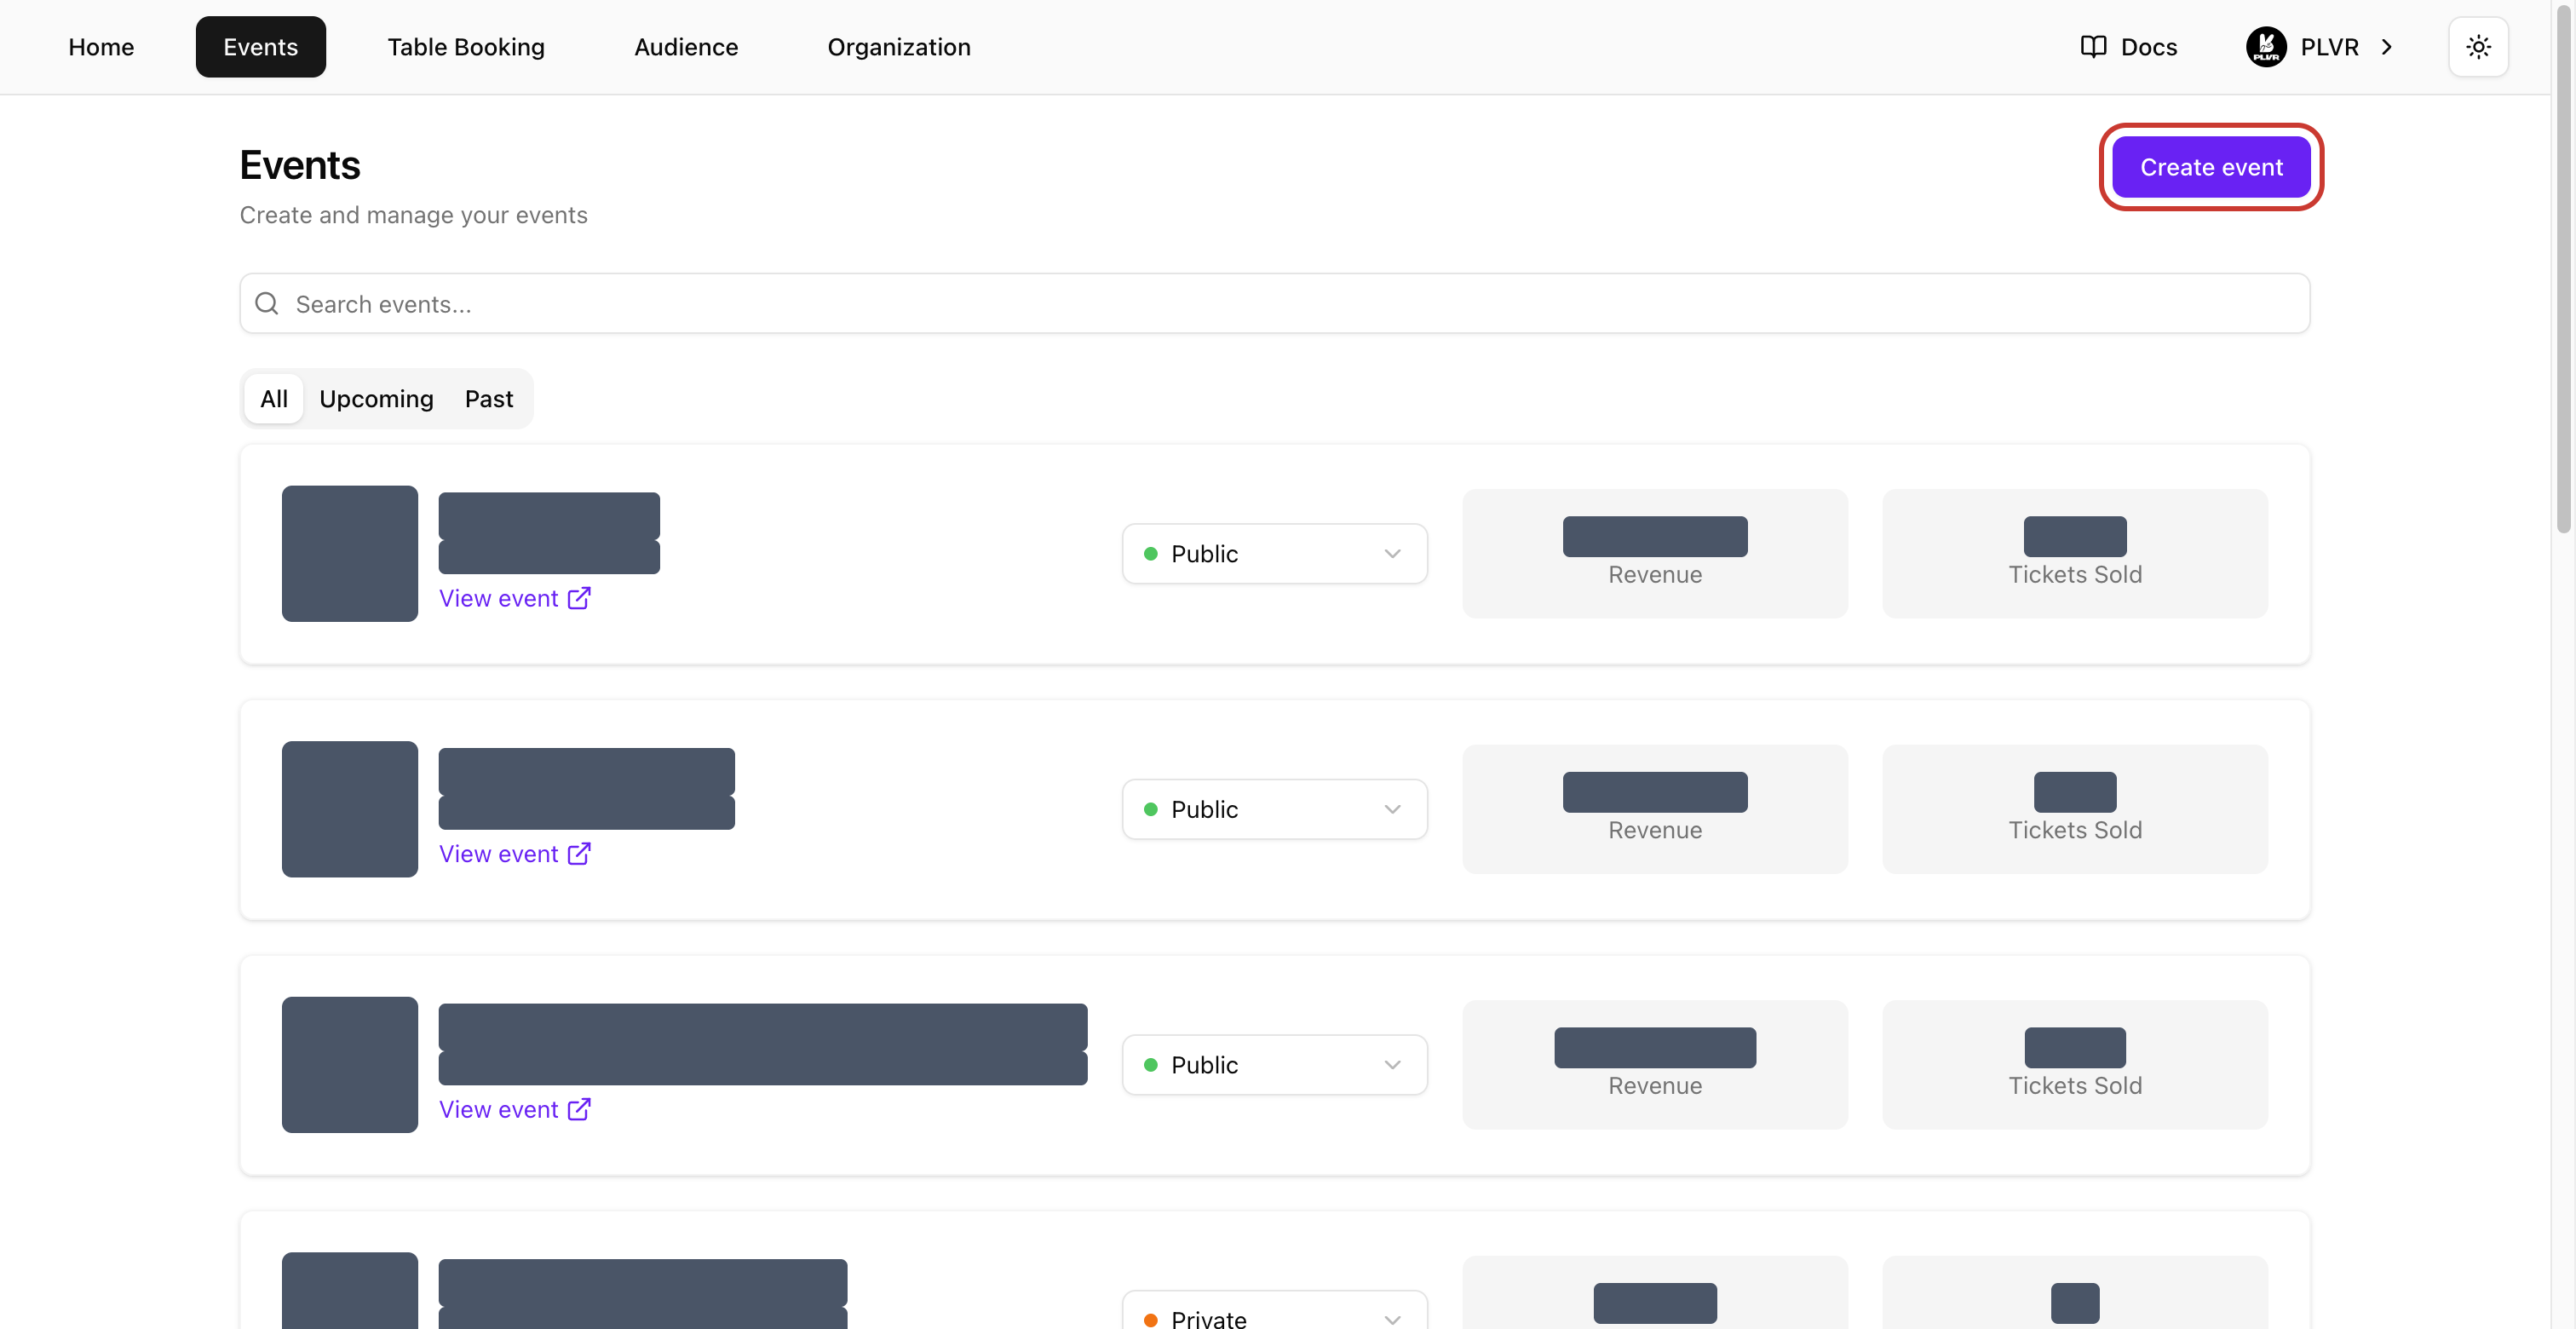
On Home or Events, select Create event. Organization owners, admins and managers can create standard ticketed events. On Home, the button is next to See all under Your events.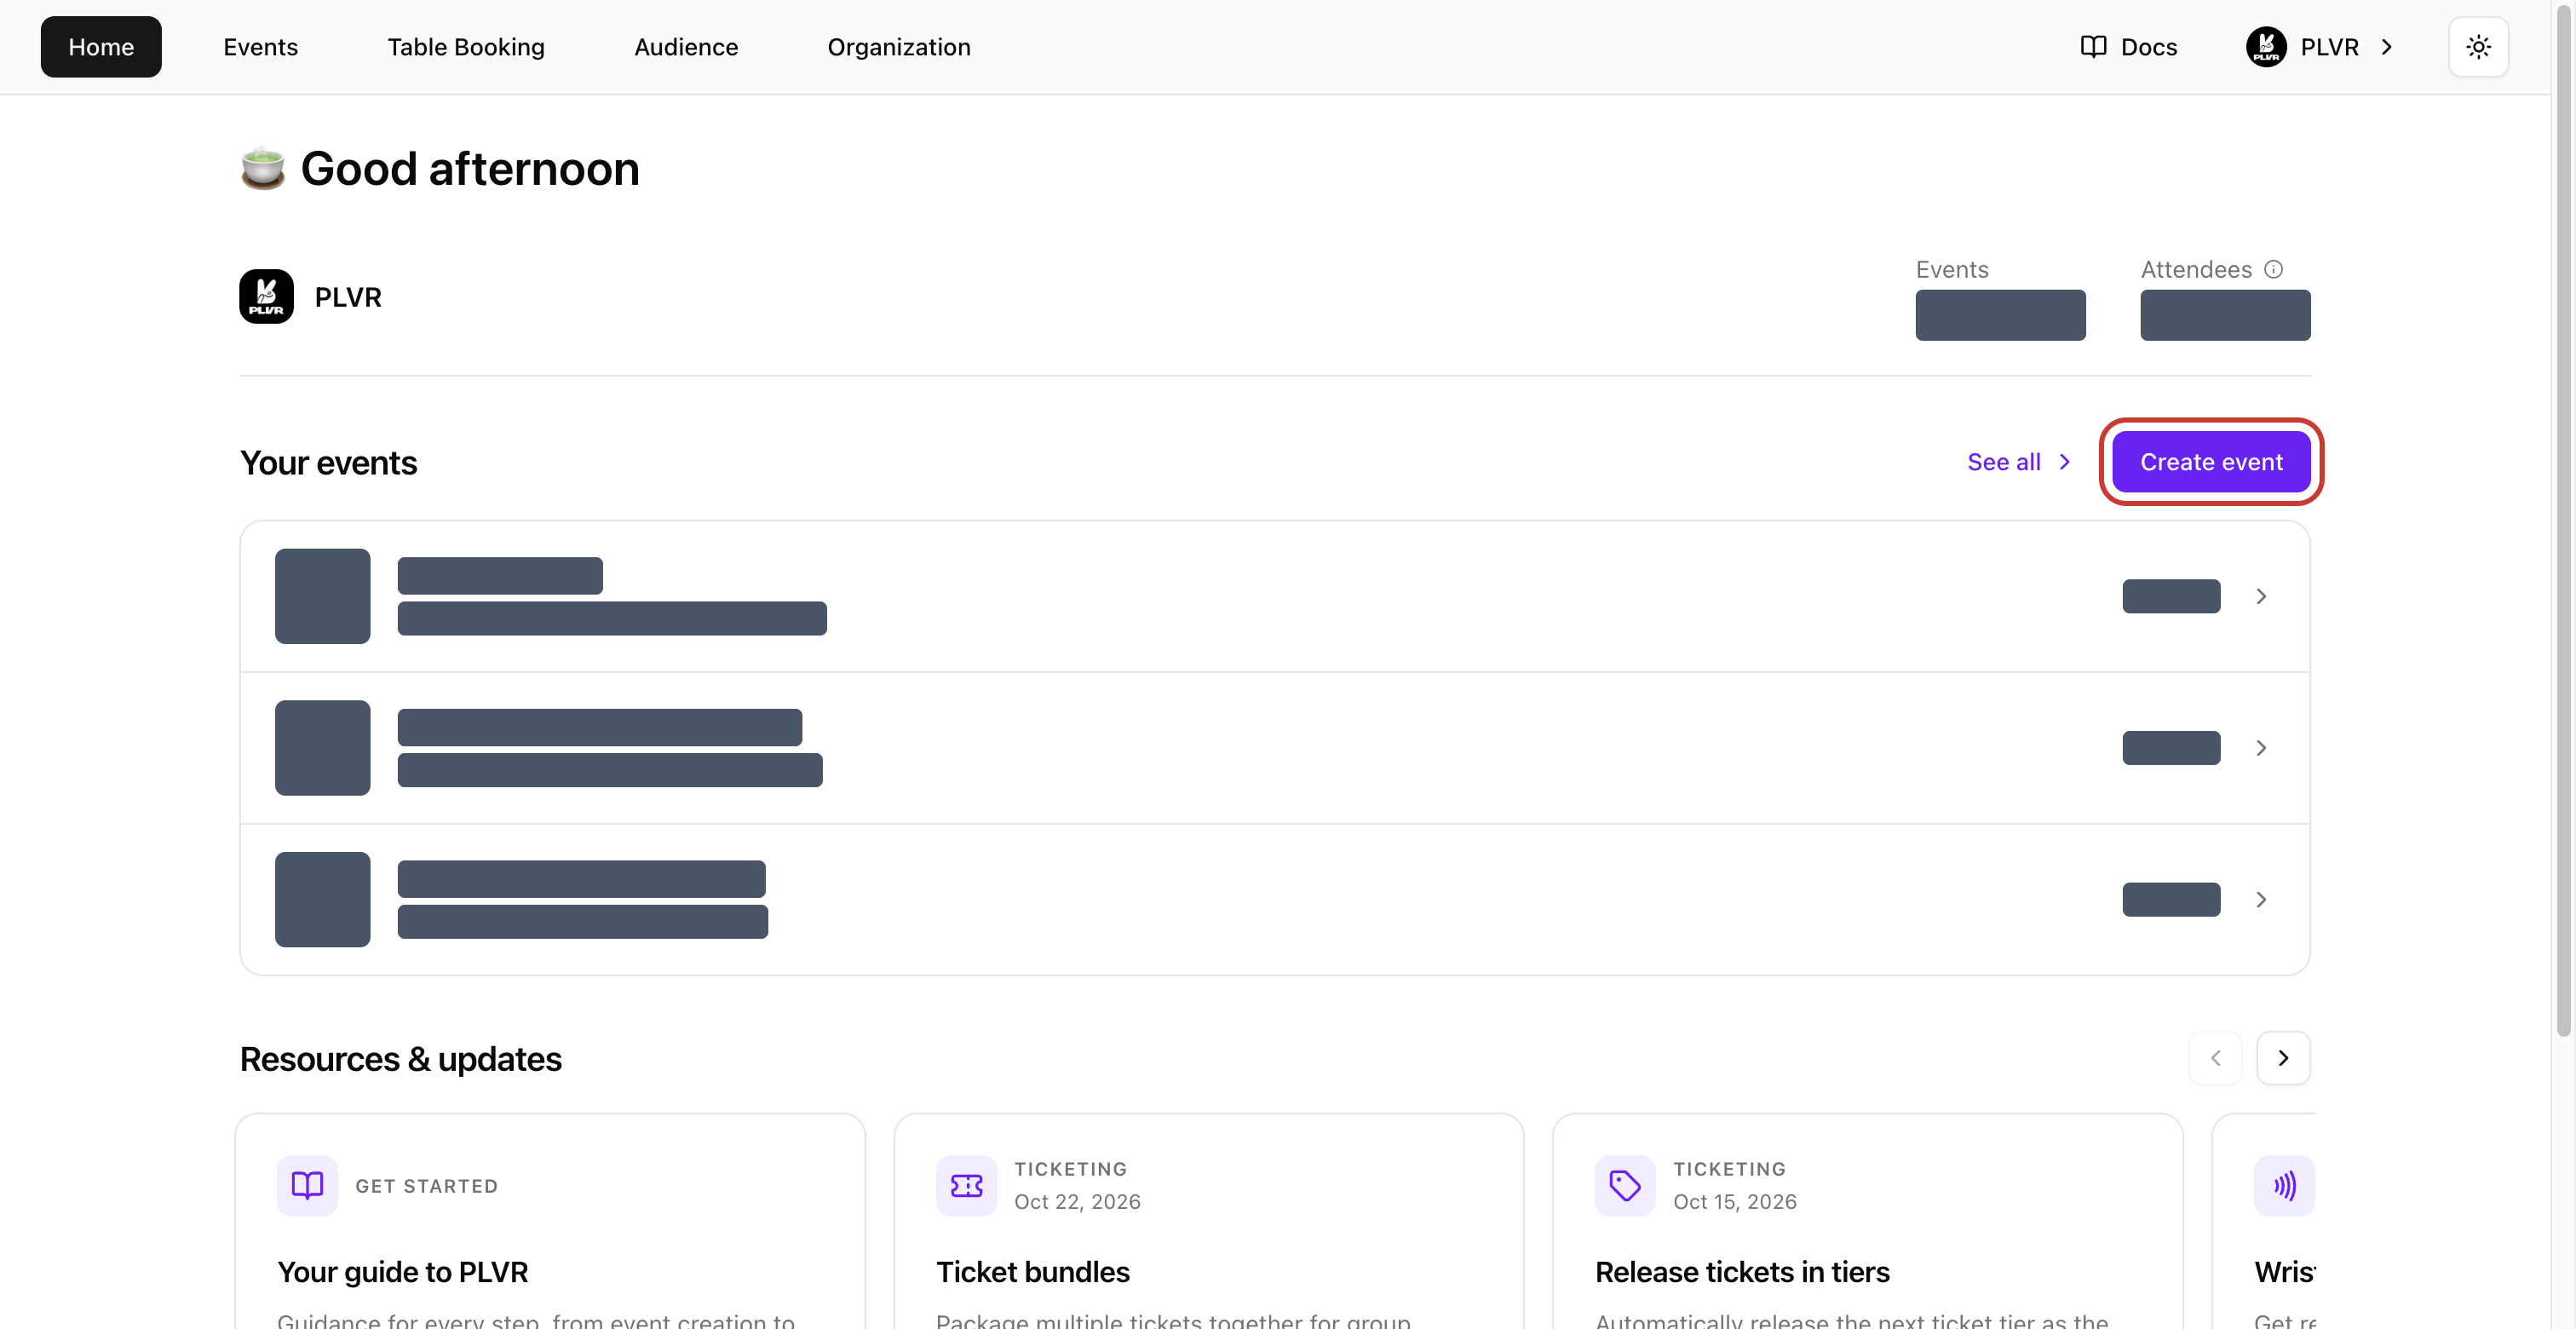
Fill in Event info
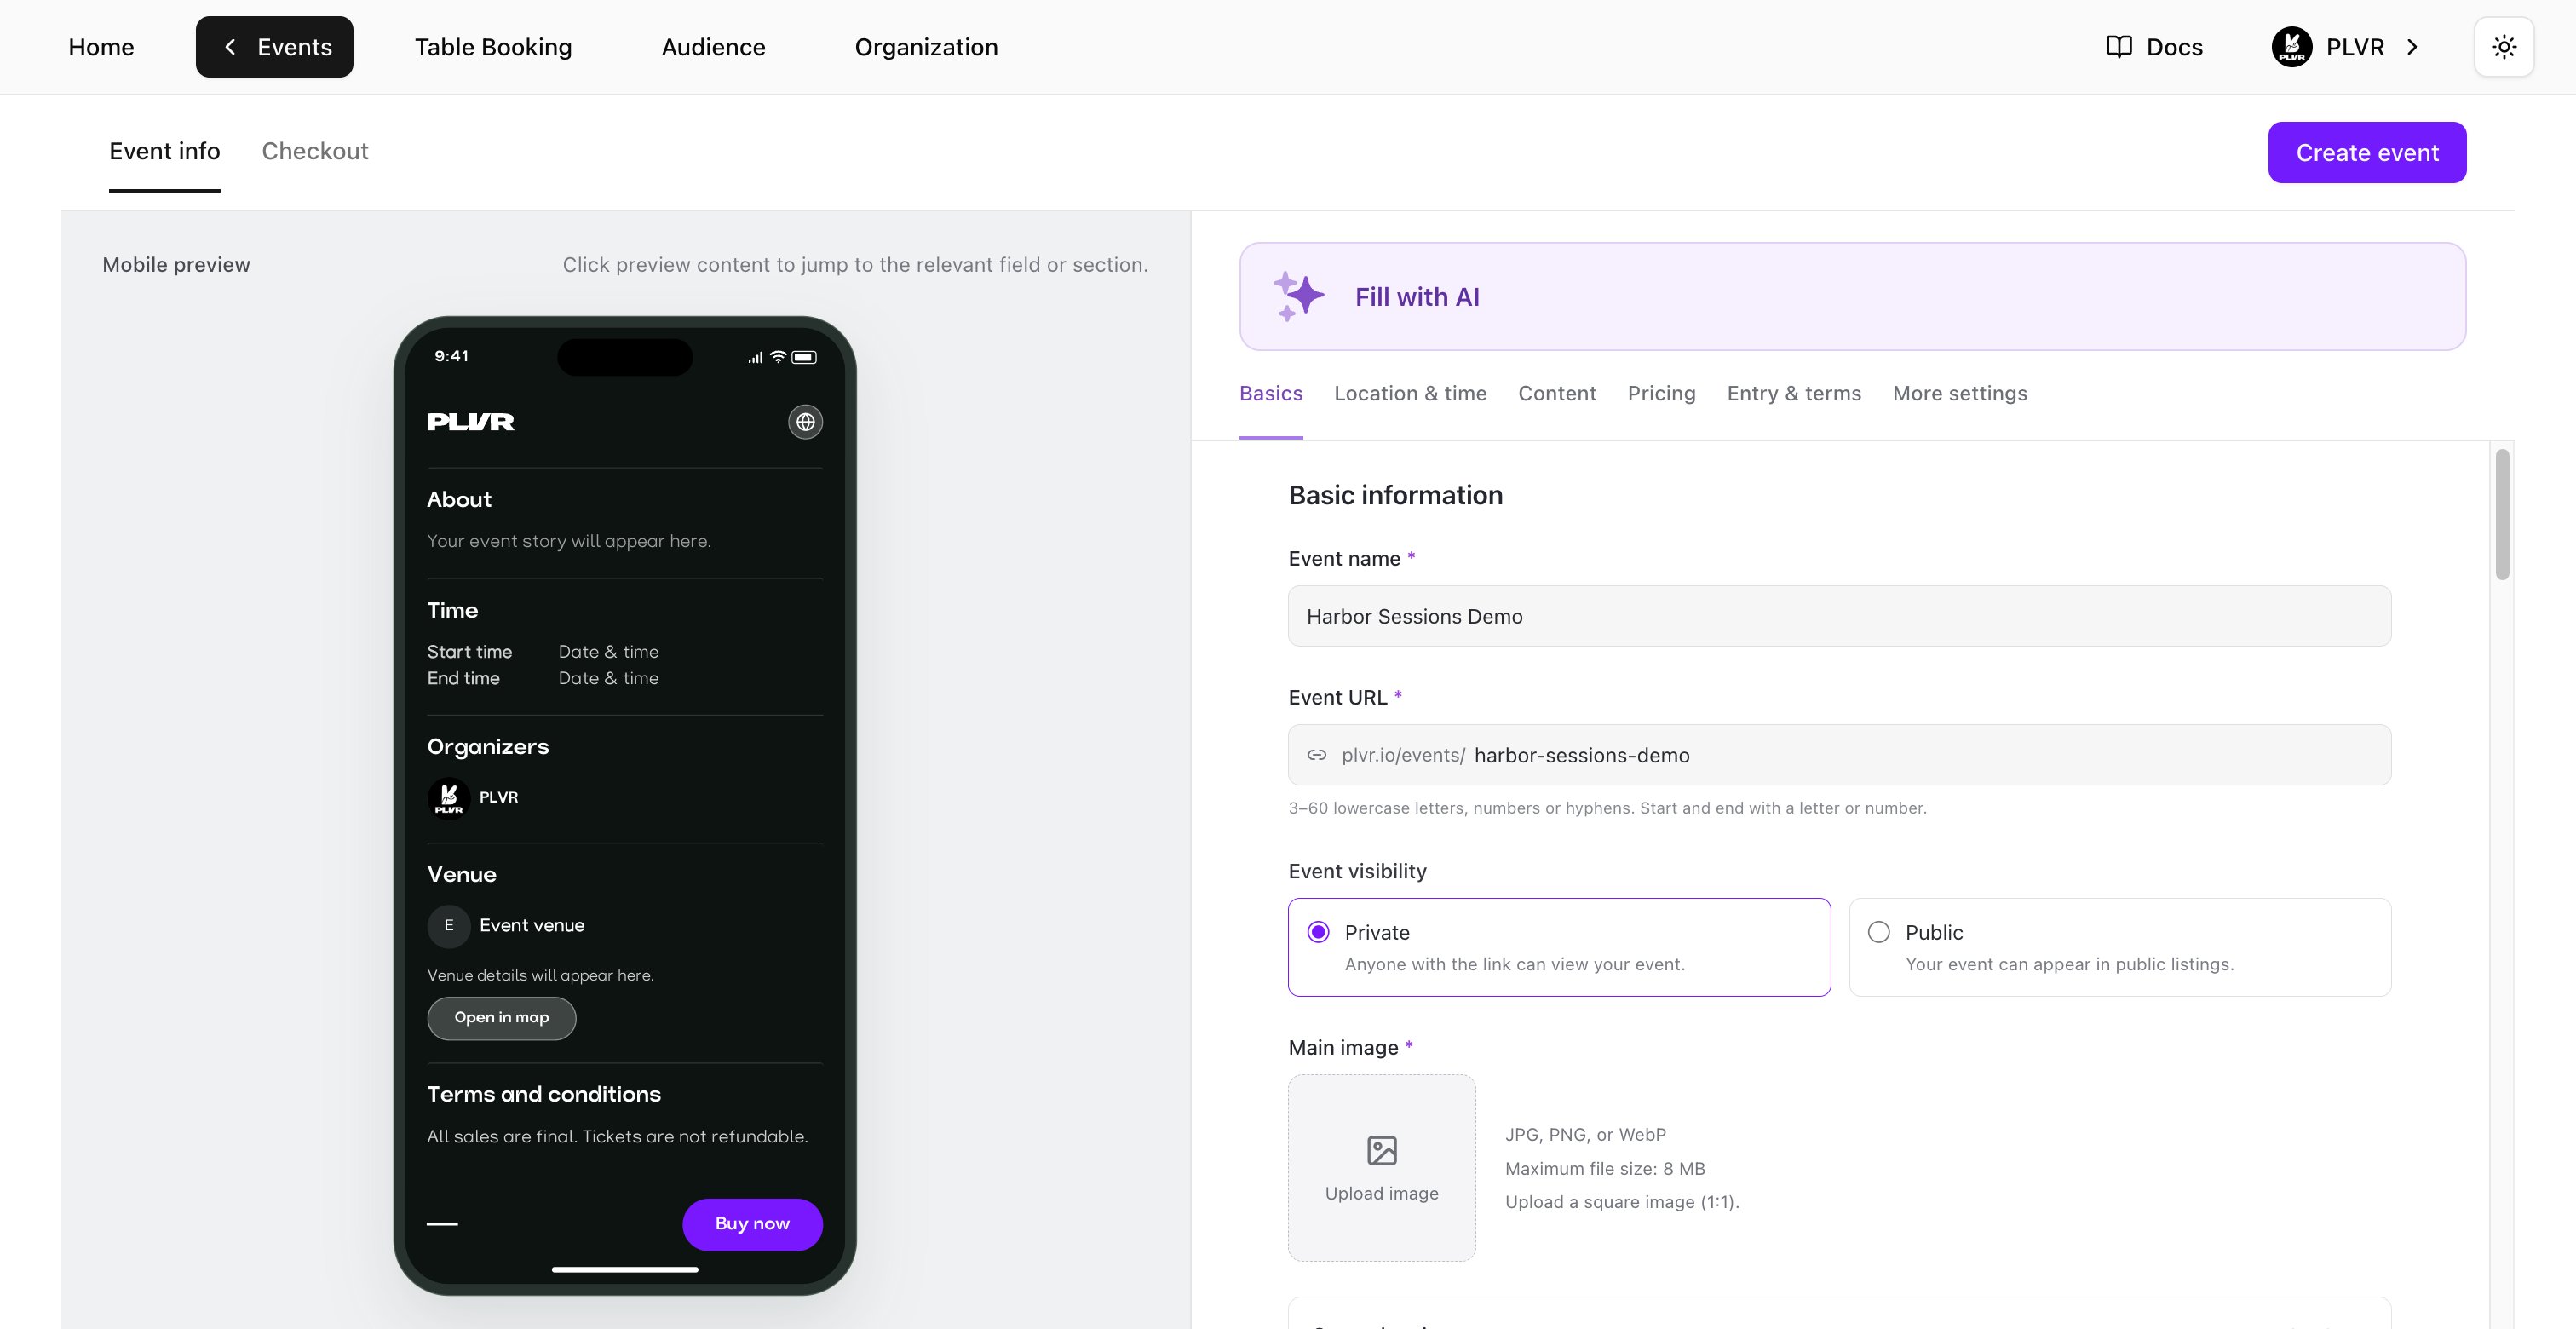
Use the section shortcuts at the top of Event info to move through the form. The Mobile preview shows the buyer-facing page as you work. Select a section in the preview to jump to its settings. Fields marked with an asterisk are required.Fill with AI
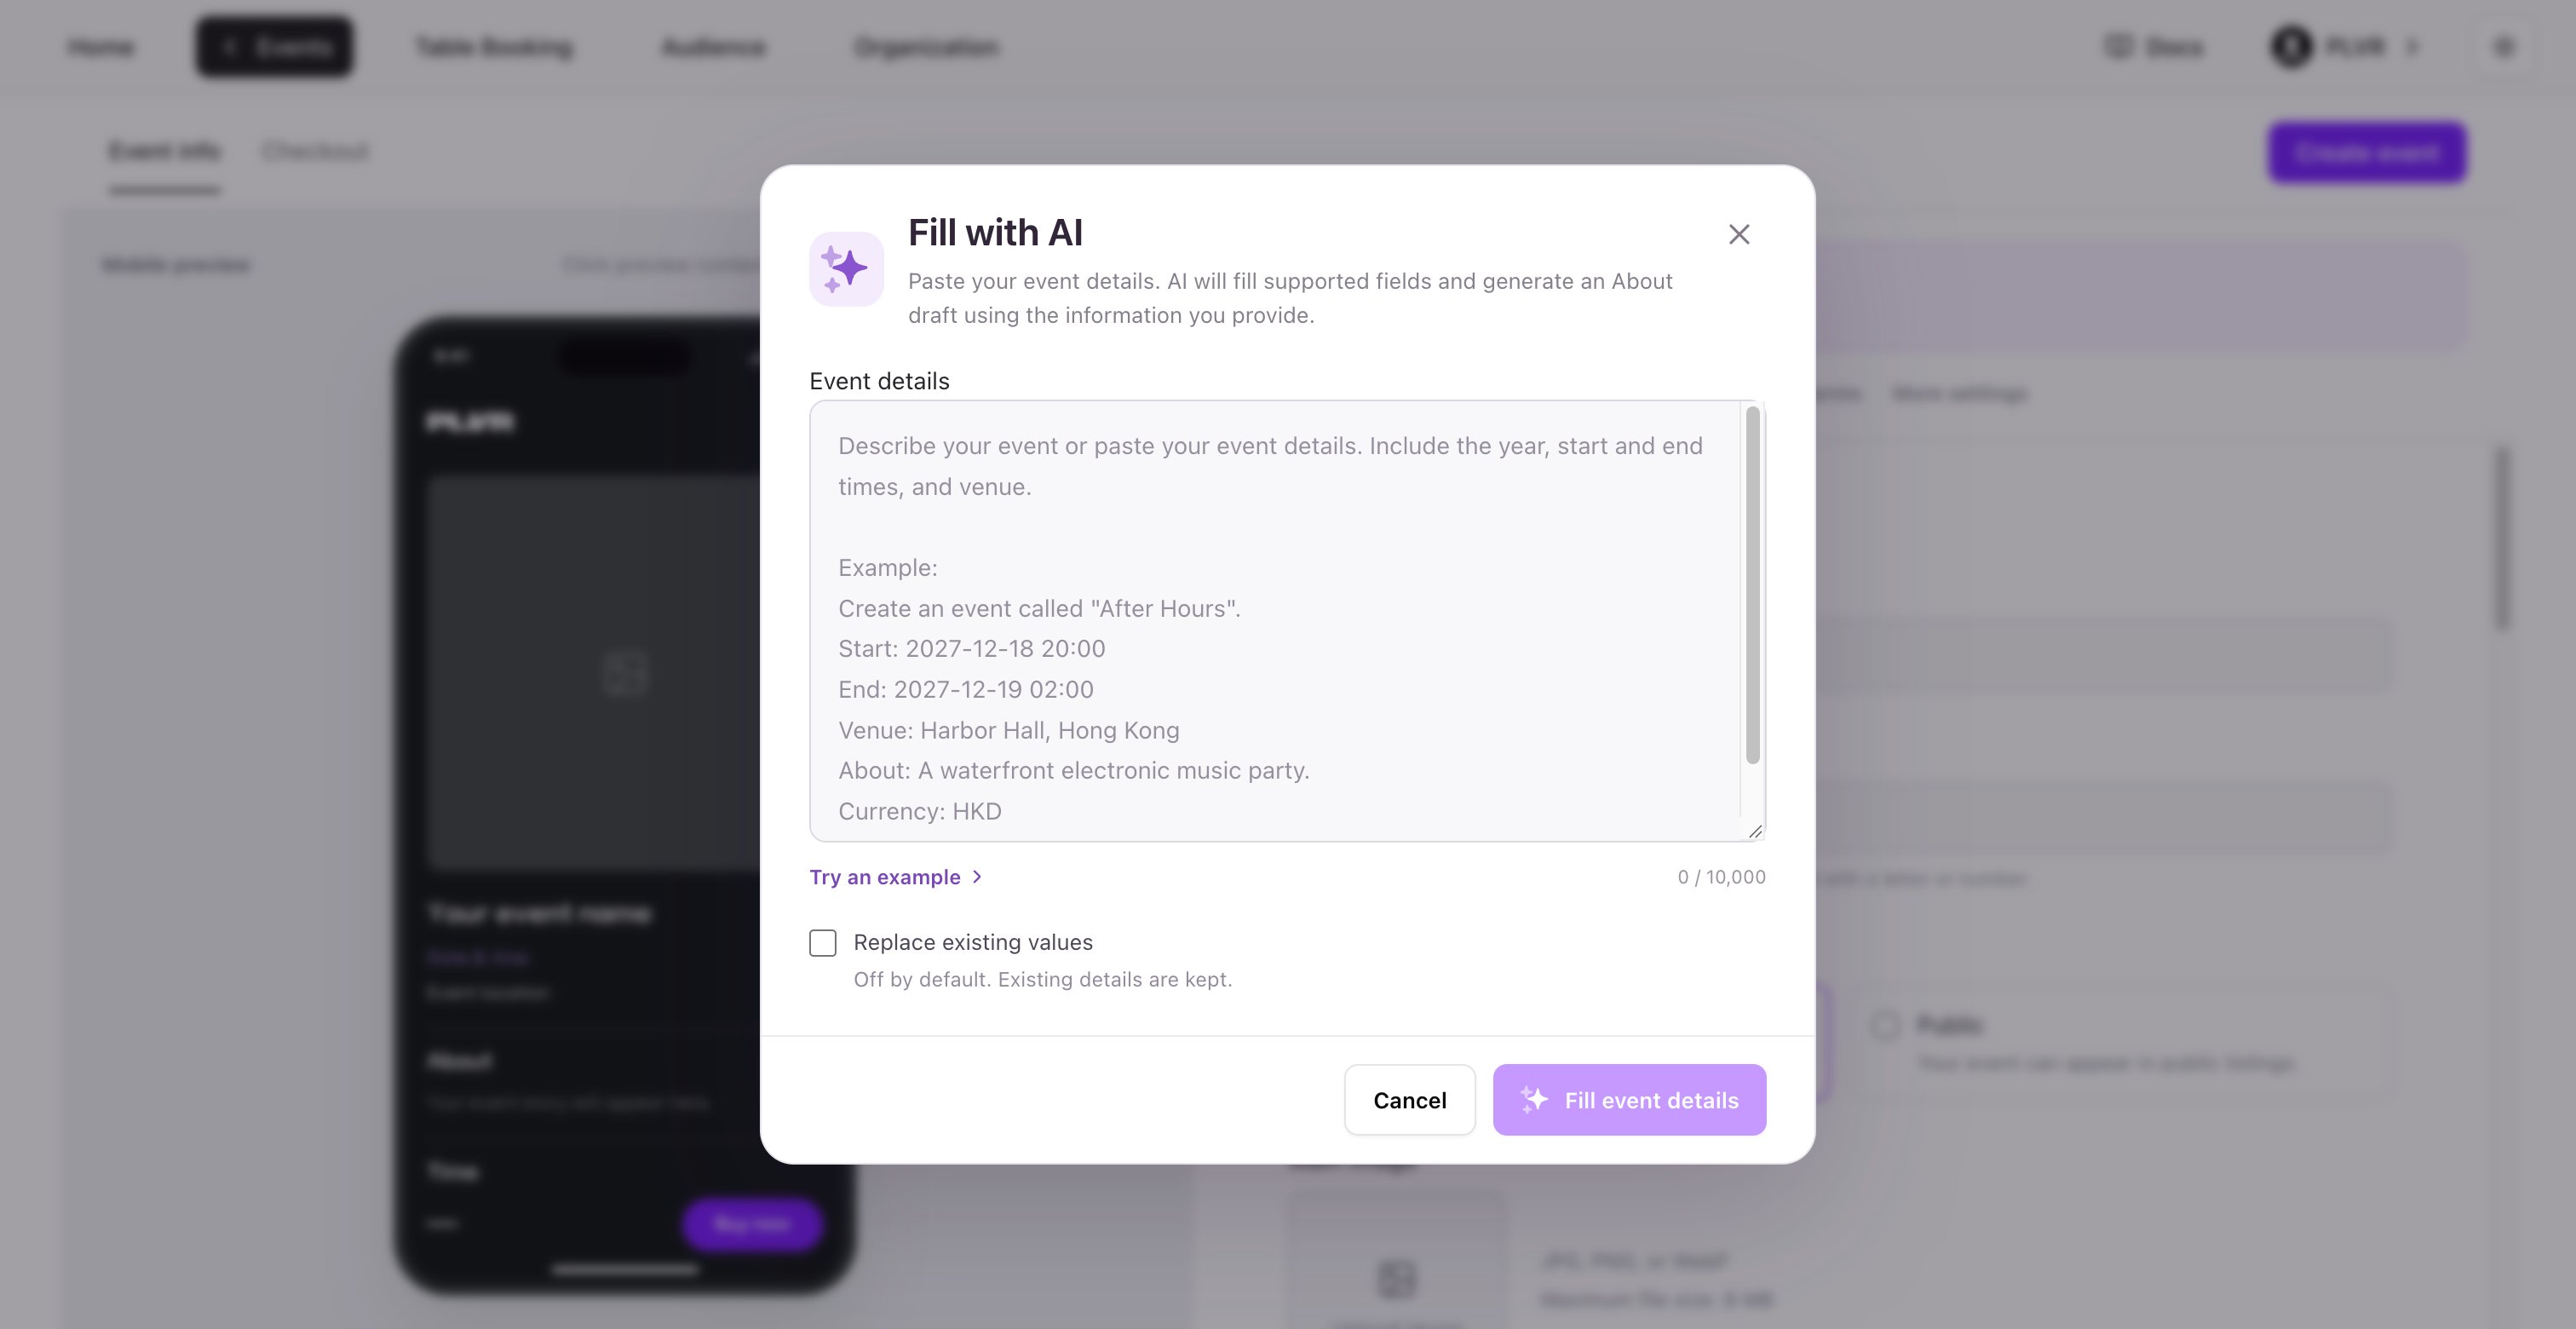
If you already have an event brief, you can use Fill with AI to get started.- Select Fill with AI and paste your details, including the year, start and end times, and venue. Select Try an example to see a sample.
- Select Fill event details. AI fills supported fields in Event info and can draft About from your details. It keeps existing values unless you turn on Replace existing values.
- Review what it filled, then complete any missing fields. Upload images and configure Checkout manually.
Basics
- Event name — Enter the name buyers should see.
- Event URL — Check the suggested link after entering the name. Edit the part after
plvr.io/events/if it is blank or already taken. Use 3–60 lowercase letters, numbers or hyphens, and start and end with a letter or number. - Event visibility — Private is selected by default. Anyone with the link can open the event. Choose Public to make it eligible to appear in PLVR listings.
- Main image — Select Upload image and choose a square (1:1) JPG, PNG or WebP file up to 8 MB.
- Secondary images — Expand this optional section and select Add to upload up to 15 gallery images. Drag the images to reorder them.
Location & time
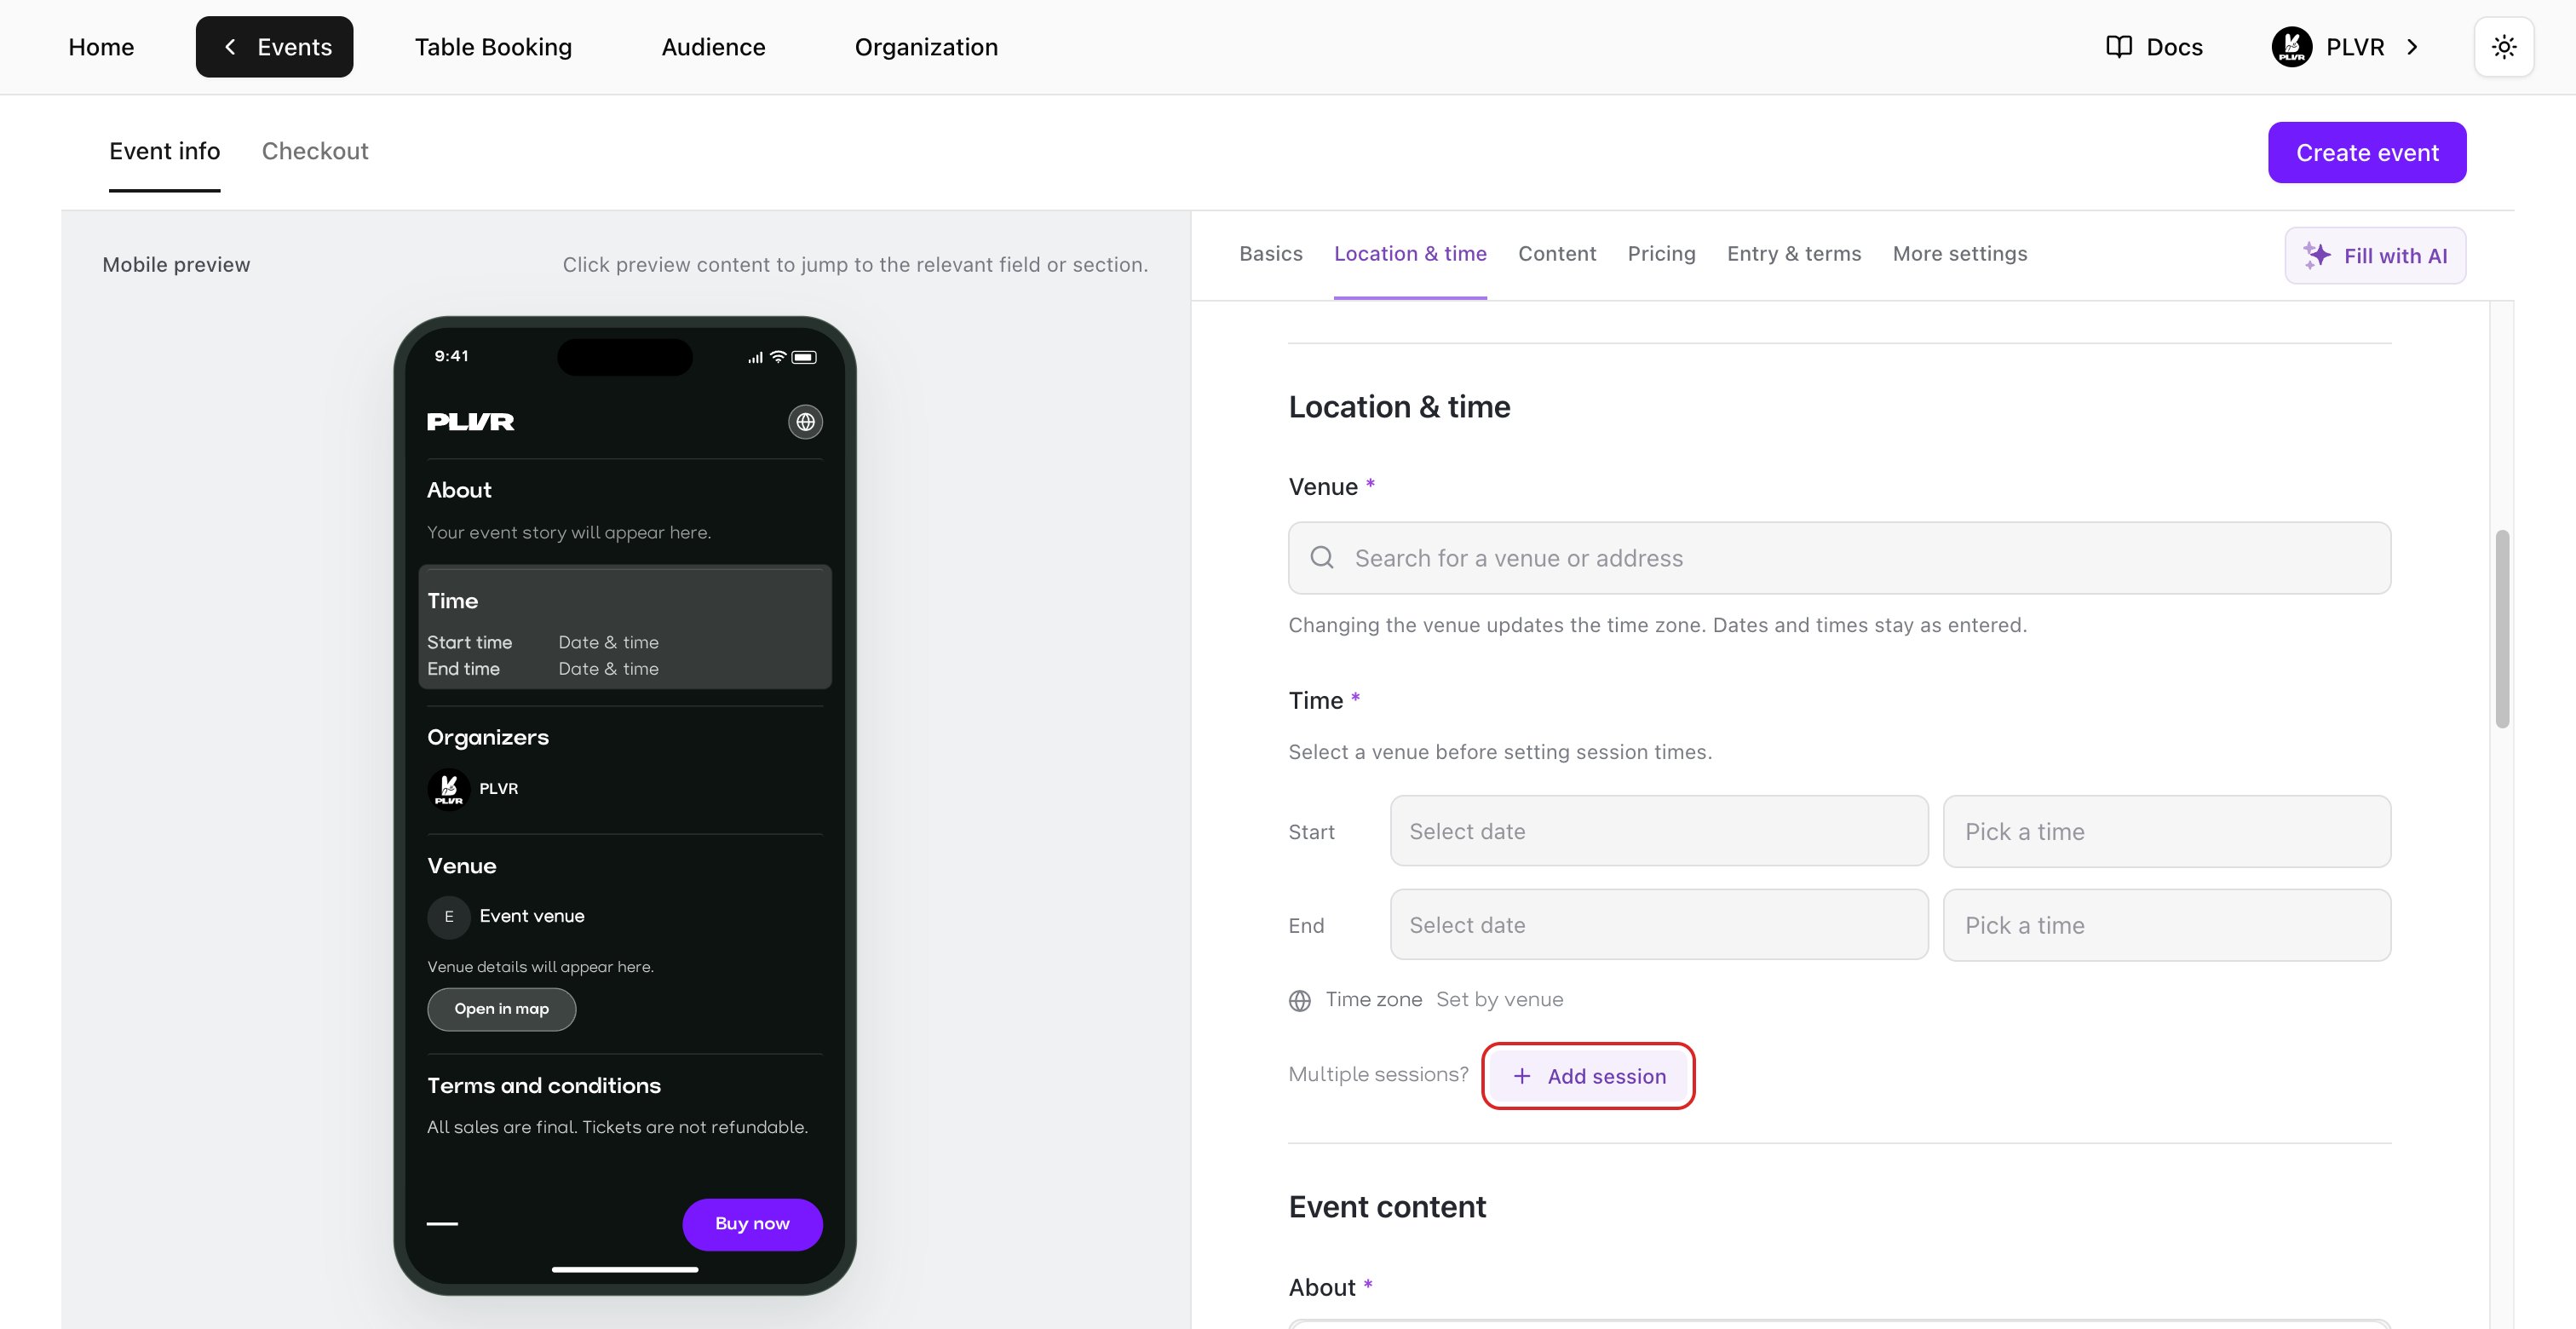
- Under Venue, search for a venue or address and select a result. This sets the time zone and enables the date and time fields.
- Under Time, set both a date and a time for Start and End. Use today or a future date in the venue’s time zone. The end must be after the start. If you change the venue, recheck the times. The time zone updates and the dates and times you entered stay the same.
- For an event with more than one session, select Add session. Give every session a different Session name and set its own start and end. Use Remove to remove an extra session.
Content
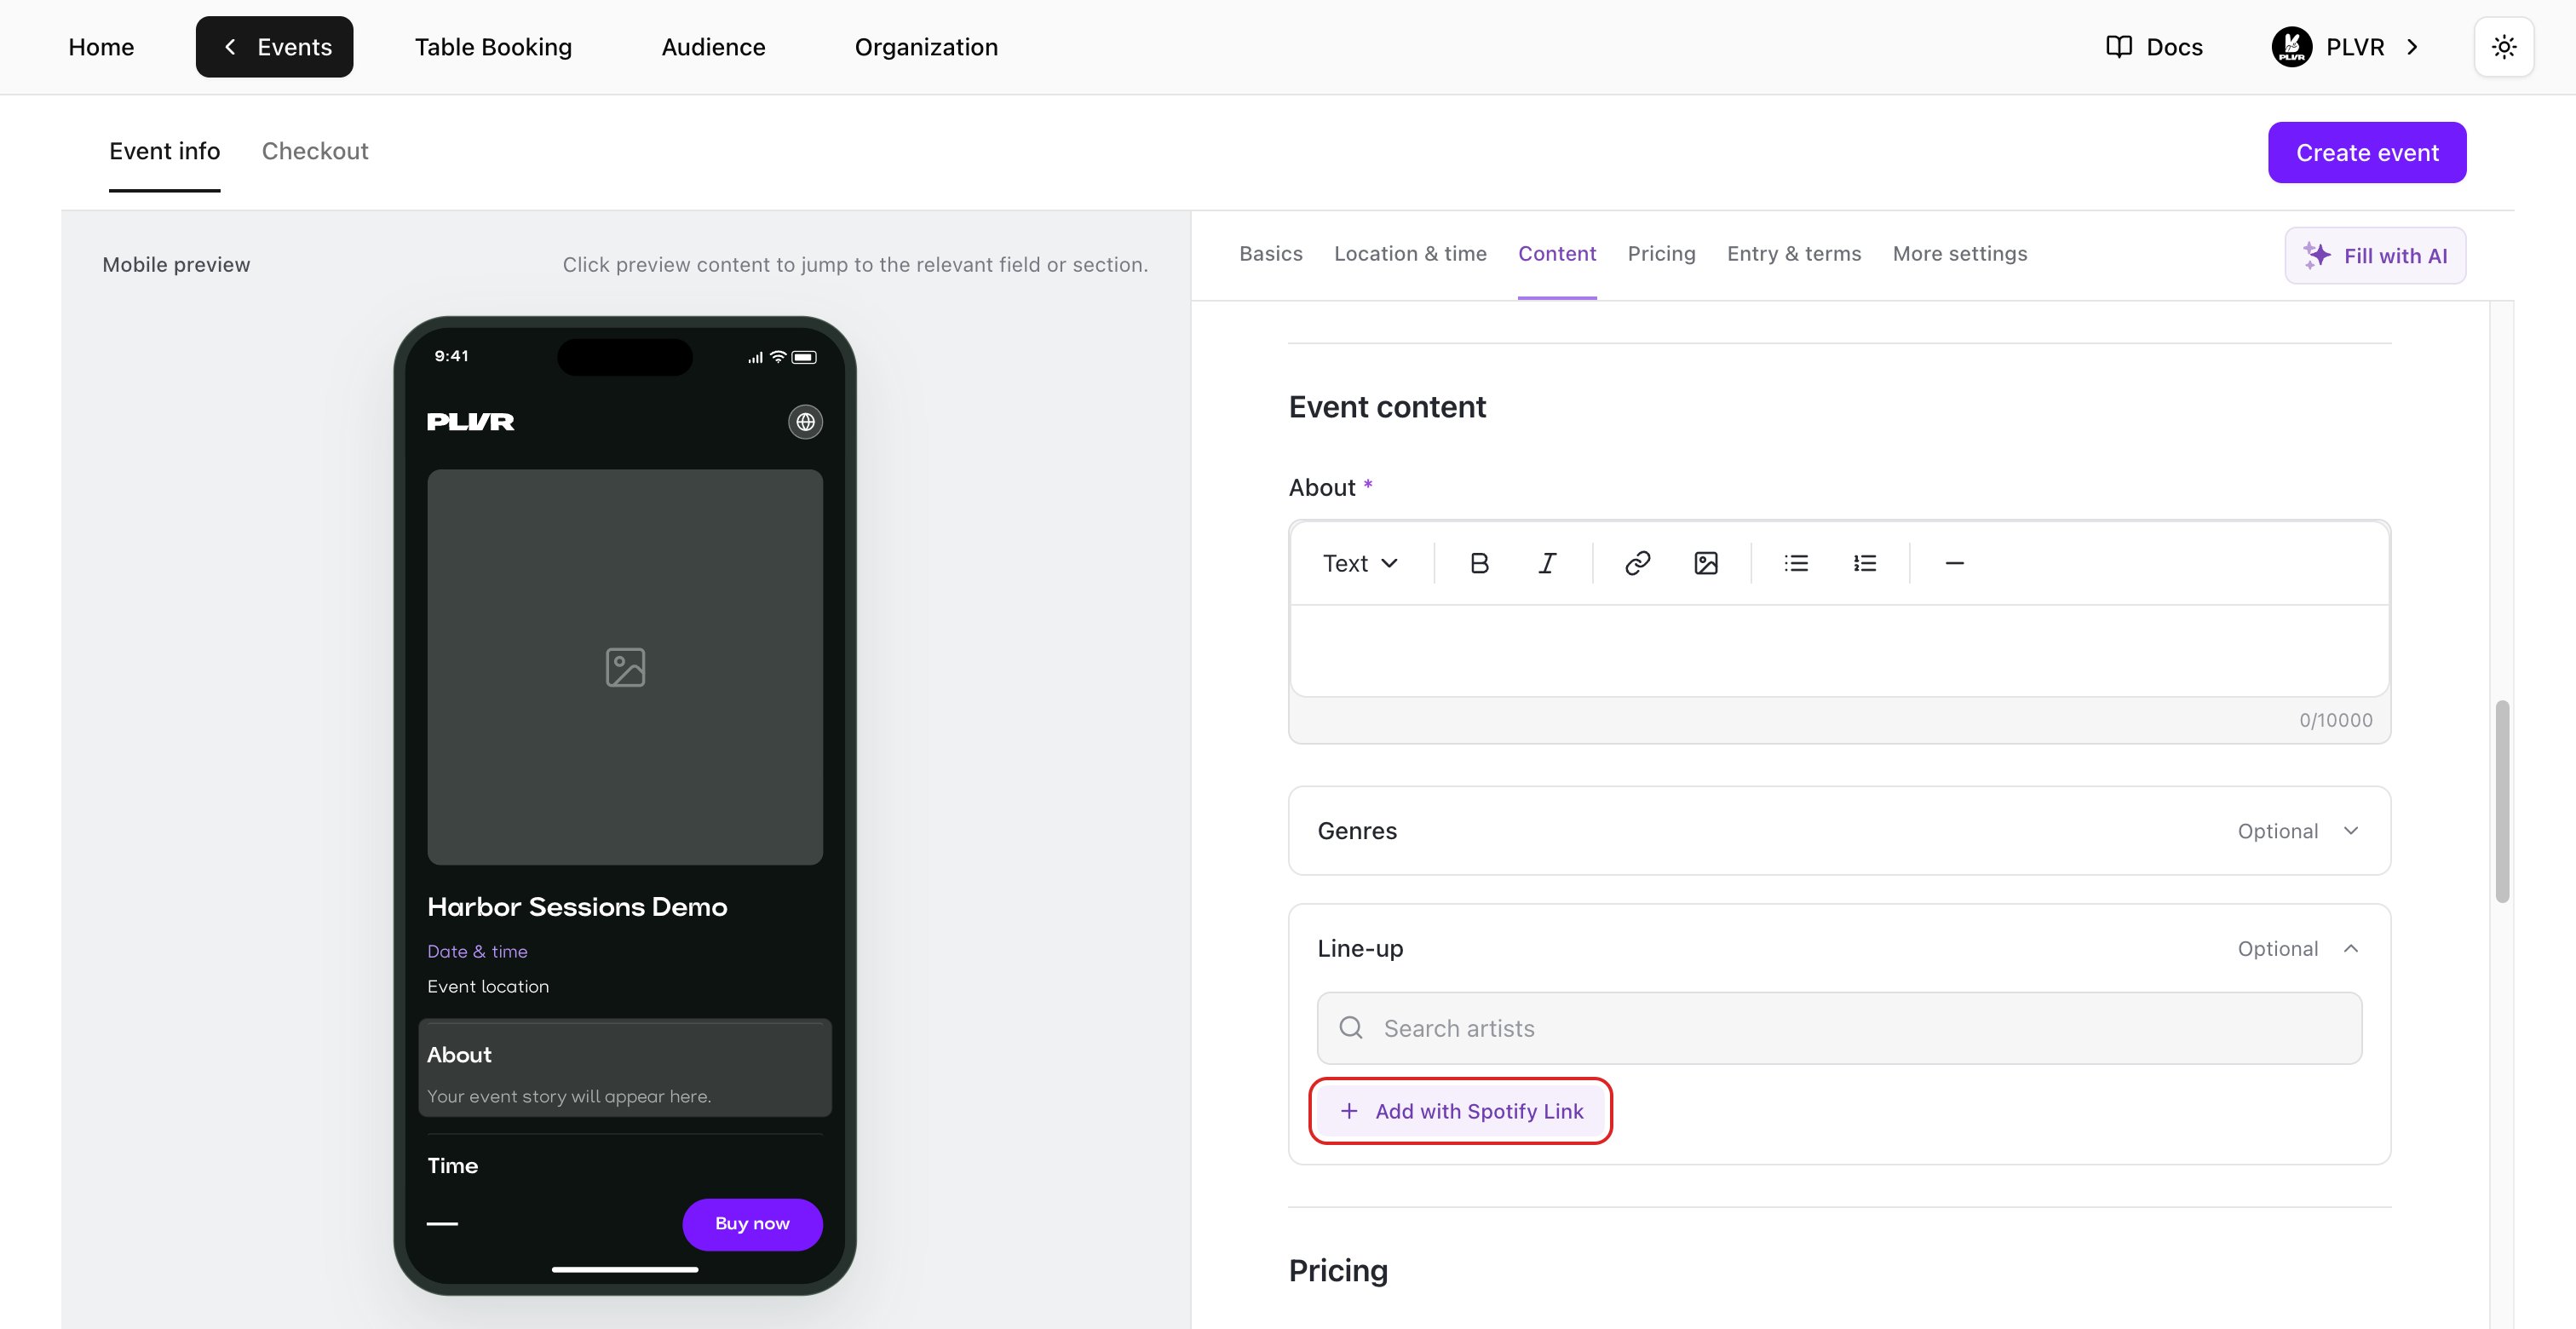
- About — Write the event description buyers will see. Use the toolbar to format the text and add links or images.
- Genres — Optional. Search or browse for genres. Selecting a subgenre replaces its parent genre.
- Line-up — Optional. Search for artists and select the ones you want to list. Mark a featured artist as Headliner if applicable. To import an artist from Spotify, select Add with Spotify Link, paste the artist’s Spotify profile link, then select Add.
Pricing
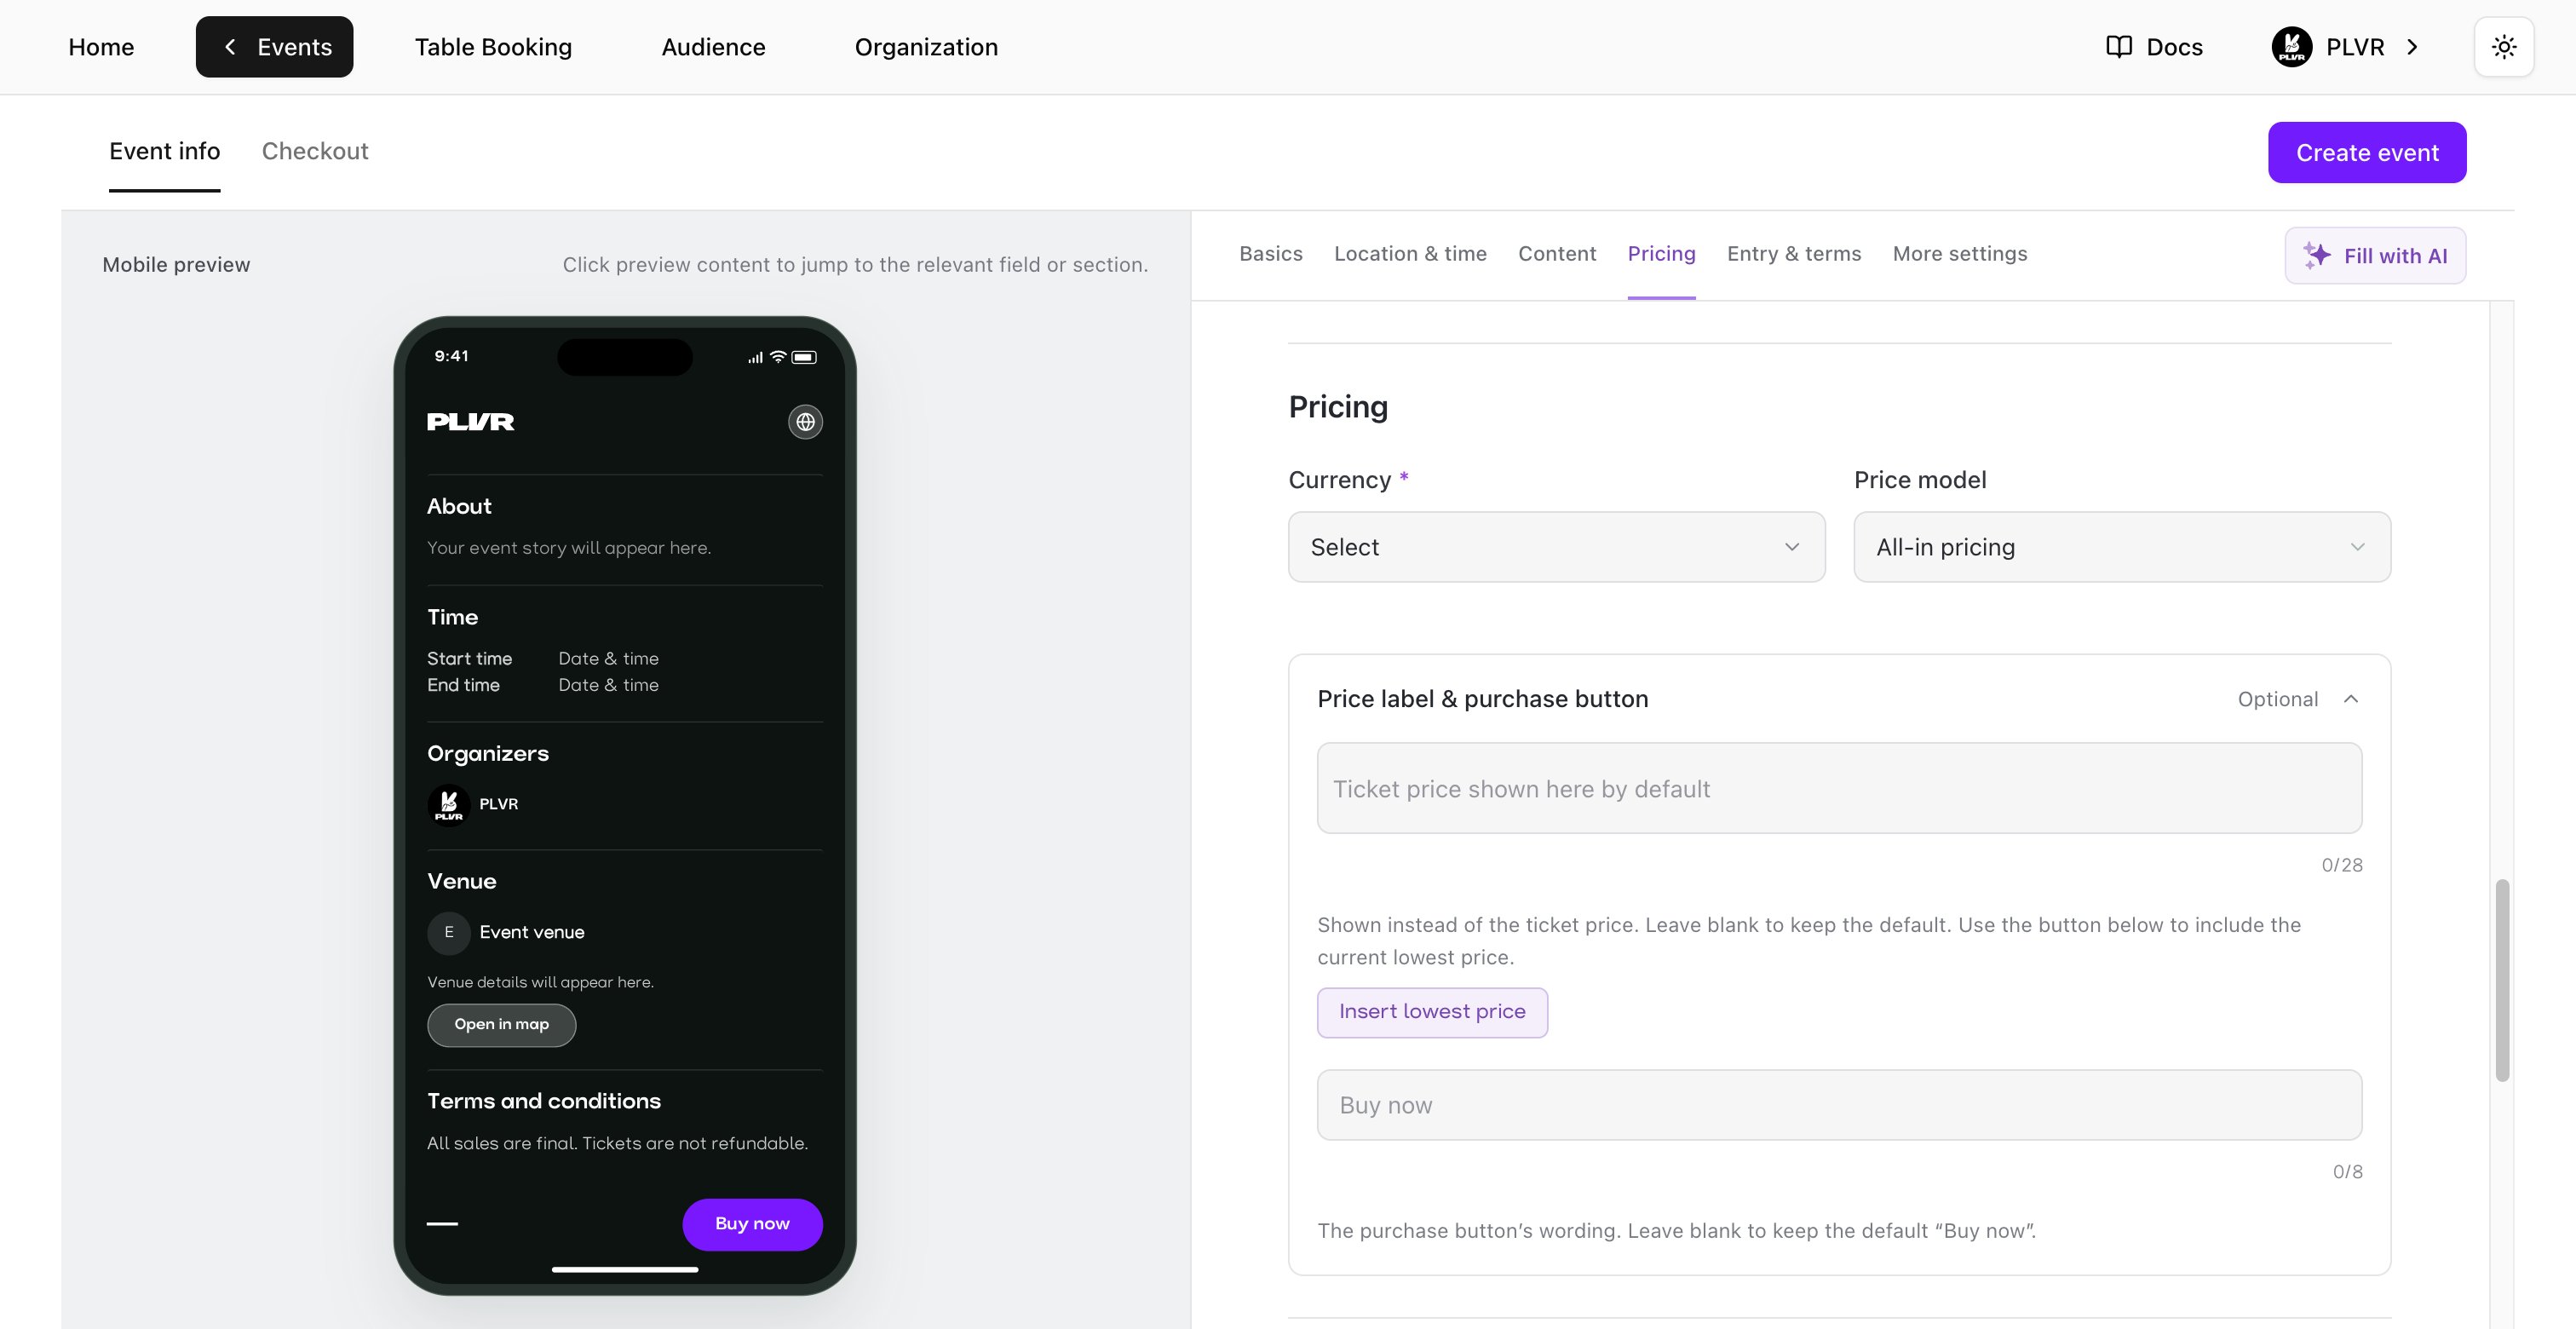
- Currency — Select the currency you will use for the event.
- Price model — Choose All-in pricing to show the full price with buyer fees and tax included, or Split pricing to show the base ticket price and add fees and tax at checkout.
- Price label & purchase button — Expand this optional section to customize how the price and purchase button appear. Use Insert lowest price to include the current lowest price in your label. The label has a 28-character limit, and the lowest-price tag counts as 16. Button text can use up to 8 characters. Leave either field blank to use its default. The default button says Buy now.
Event currency locks when the first Ticket, Bundle or Add-on is successfully created.
Entry & terms
- Entry requirements — Optional. Turn on Age Limit and set the minimum age if applicable. Turn on Bring photo ID to tell buyers they must show a valid photo ID for entry.
- Terms and conditions — Review the prefilled terms and update them to match your event. These terms appear on the event page.
More settings
Turn on Enable PLVR Tap if you plan to use cashless wristband payments. The setting is off by default. Use Learn about PLVR Tap in the form for details.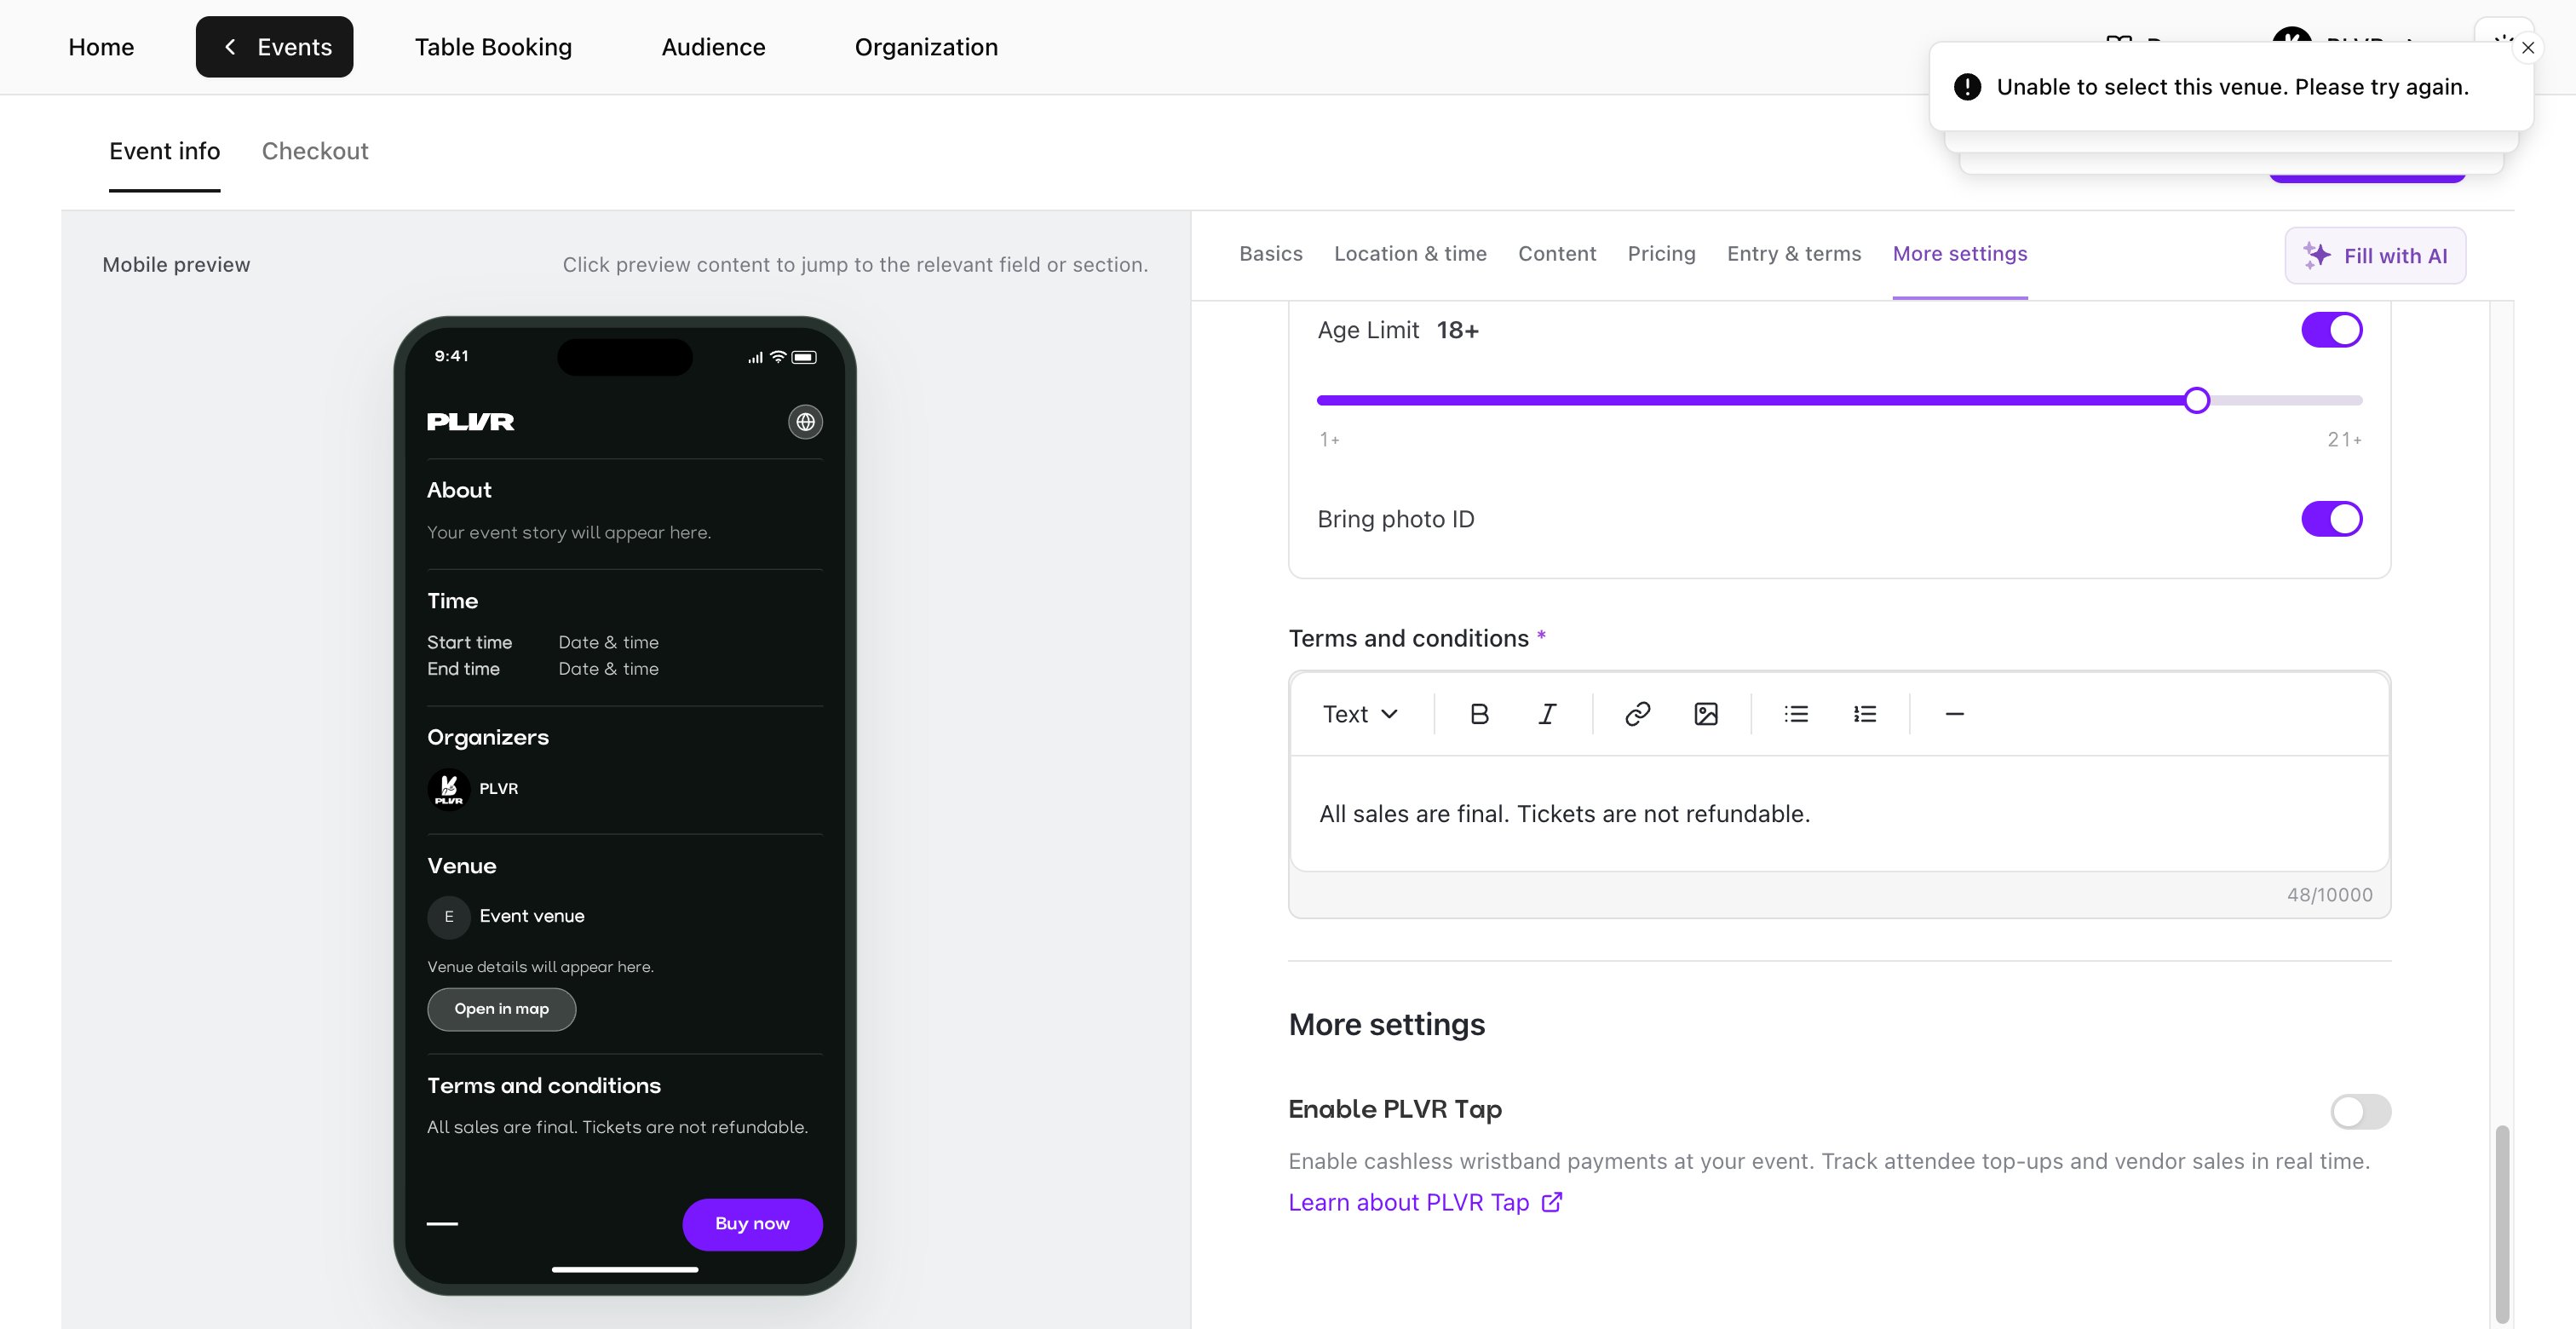
Set up Checkout
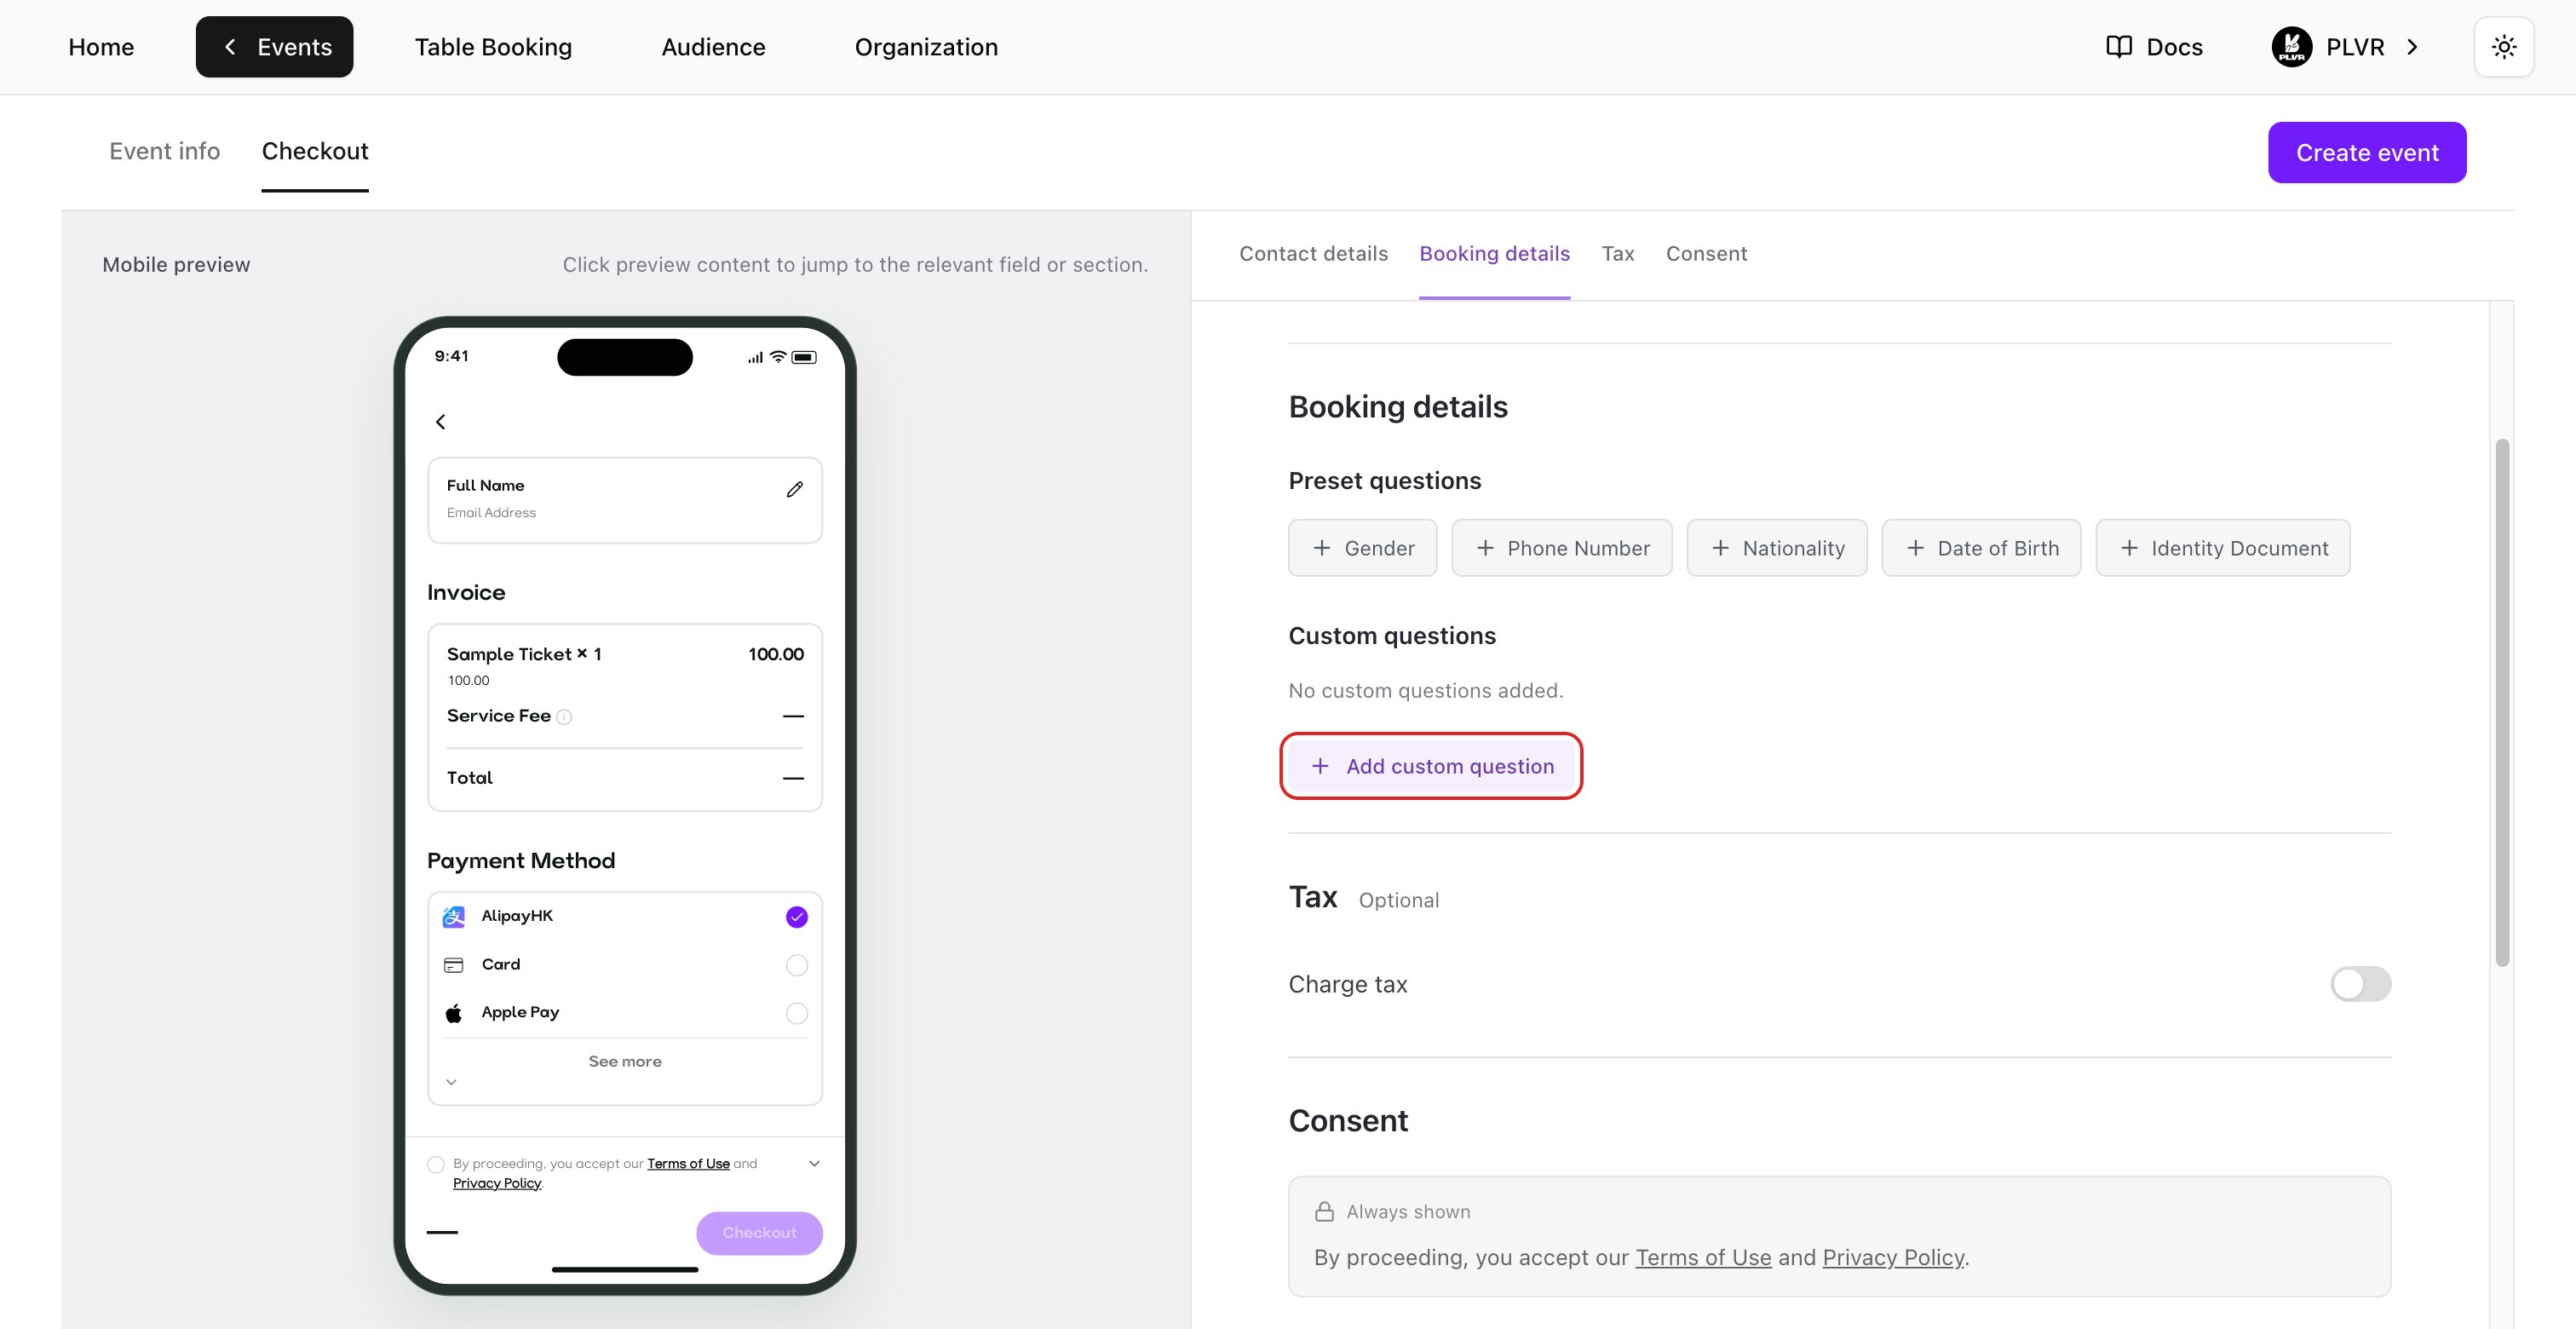
Select the Checkout tab. Use the Mobile preview to see how the questions, charges and consent appear to buyers.Contact details and booking details
- Contact details — Full Name and Email Address are always required.
- Booking details — Add a preset question such as Phone Number, or select Add custom question. Enter your question and choose Text, Number, Single choice or Multiple choice. Add at least one option for a choice question, then select Add question. Use Required and Show at checkout to control what buyers see and must answer. See Registration form for question types, editing and sorting.
Tax
If you need to collect tax, turn on Charge tax and enter the Tax rate (%). Review the sample invoice in the preview. The rate applies to ticket prices and buyer service fees on new orders.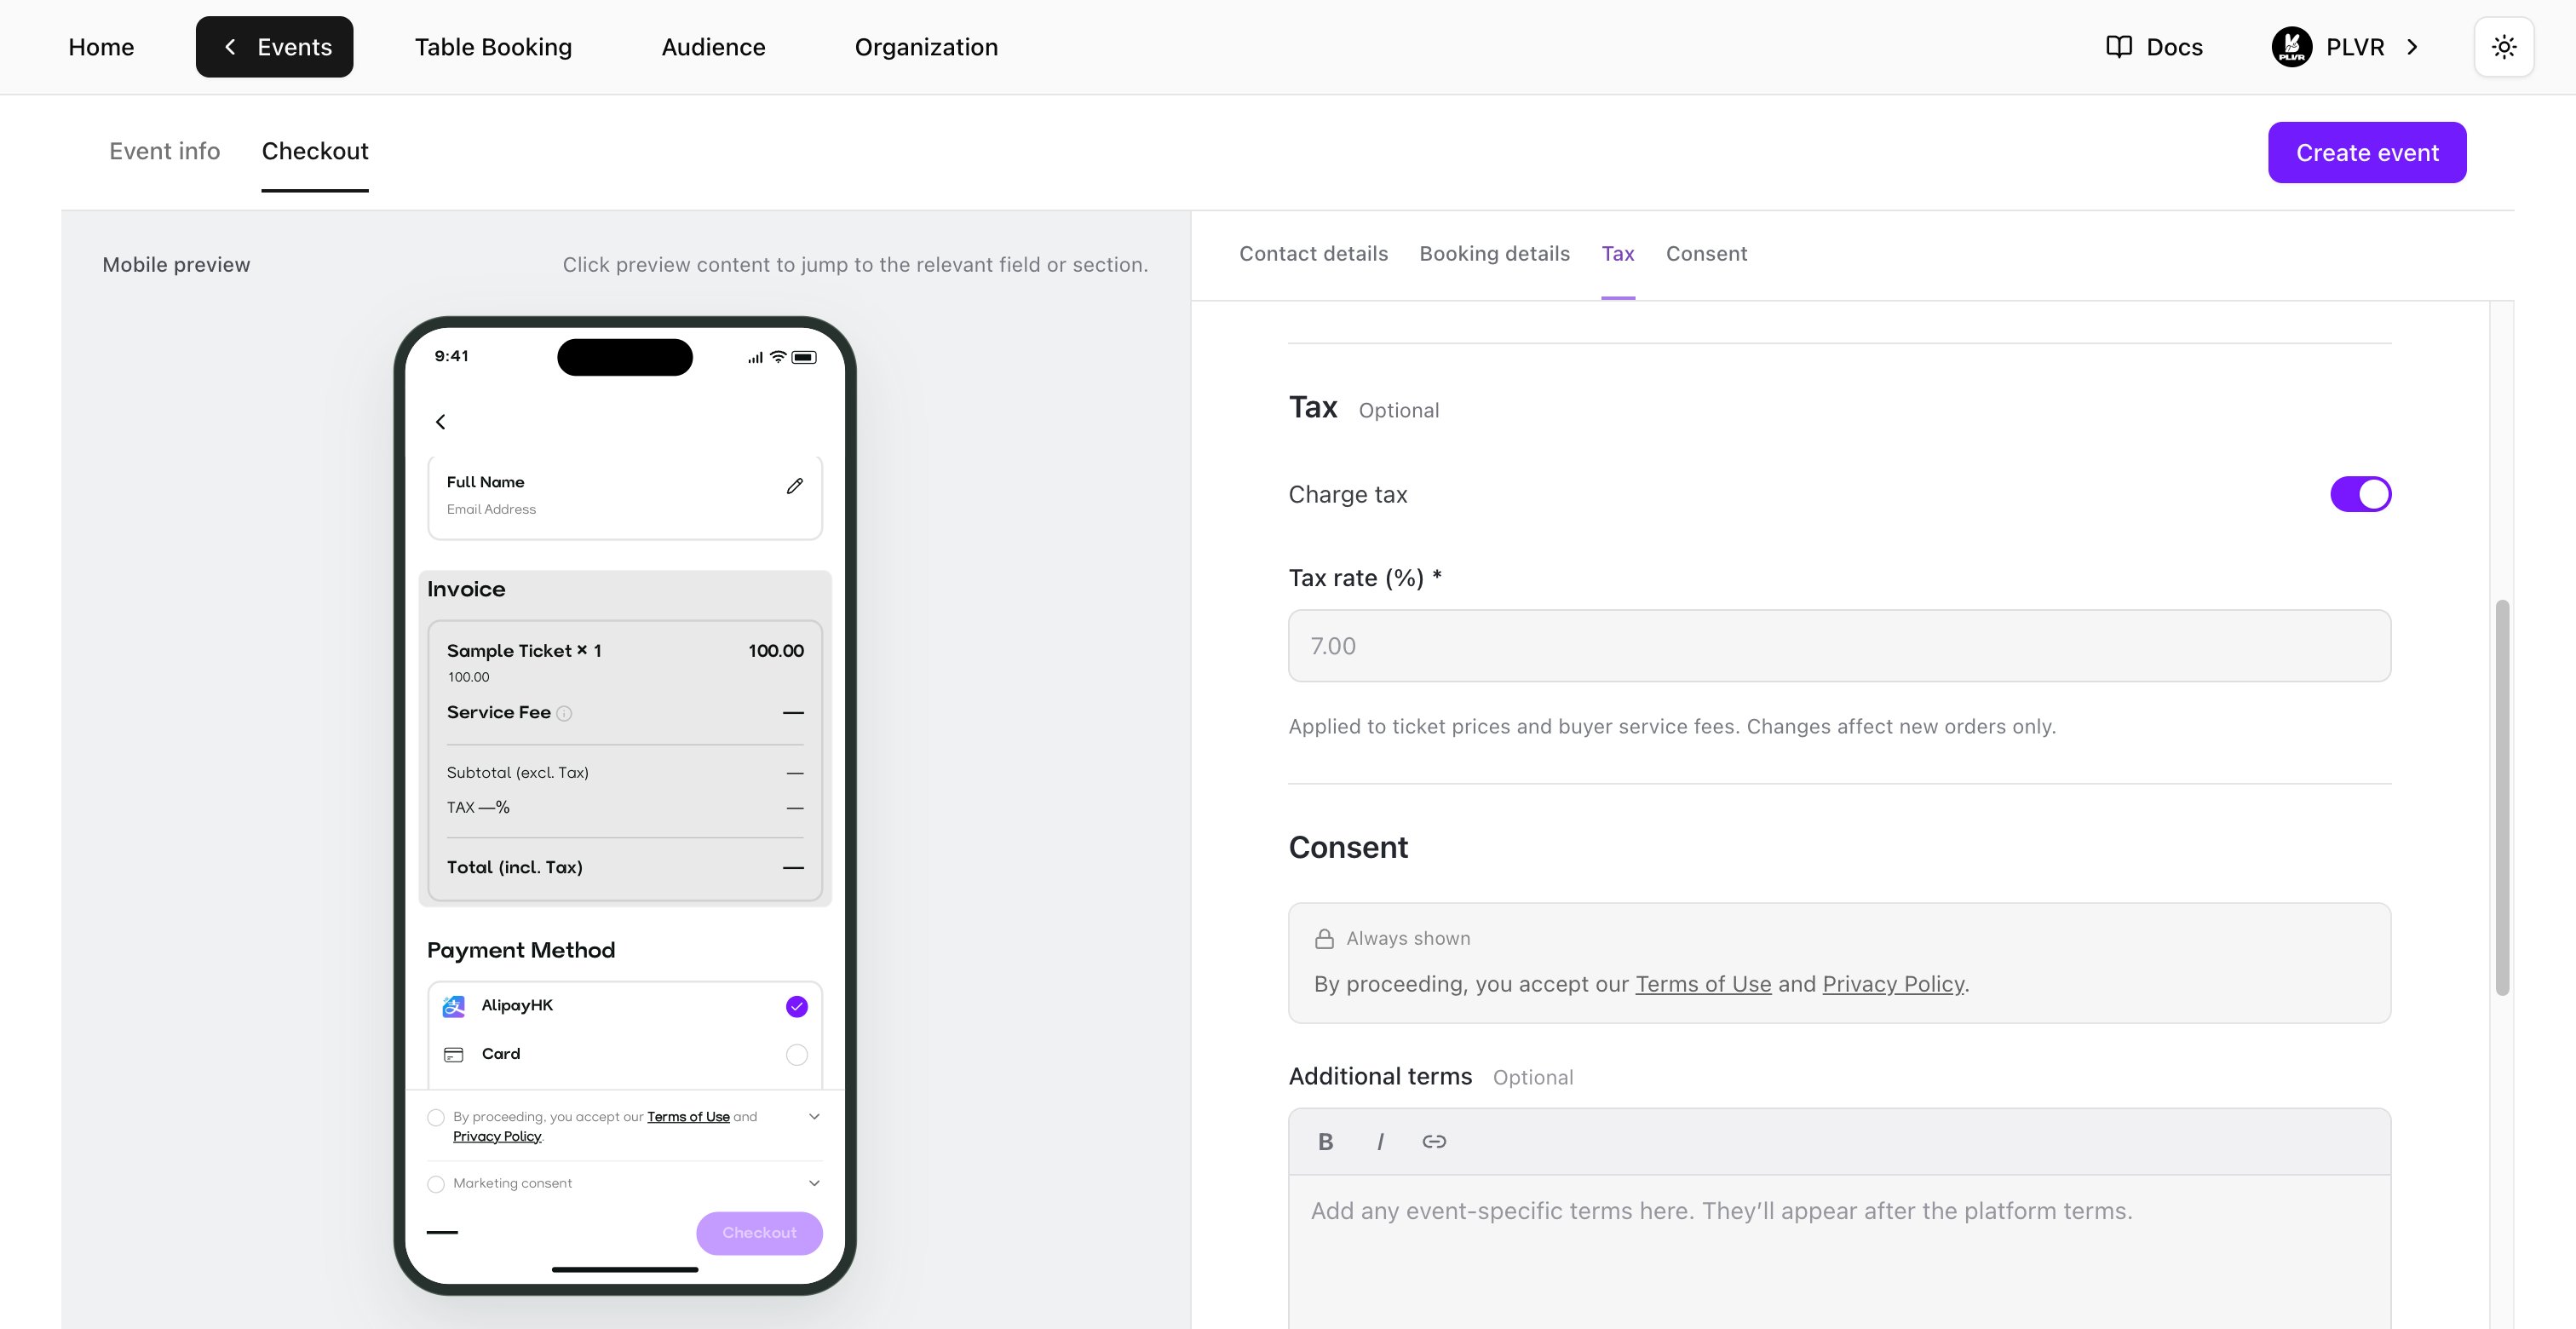
Consent
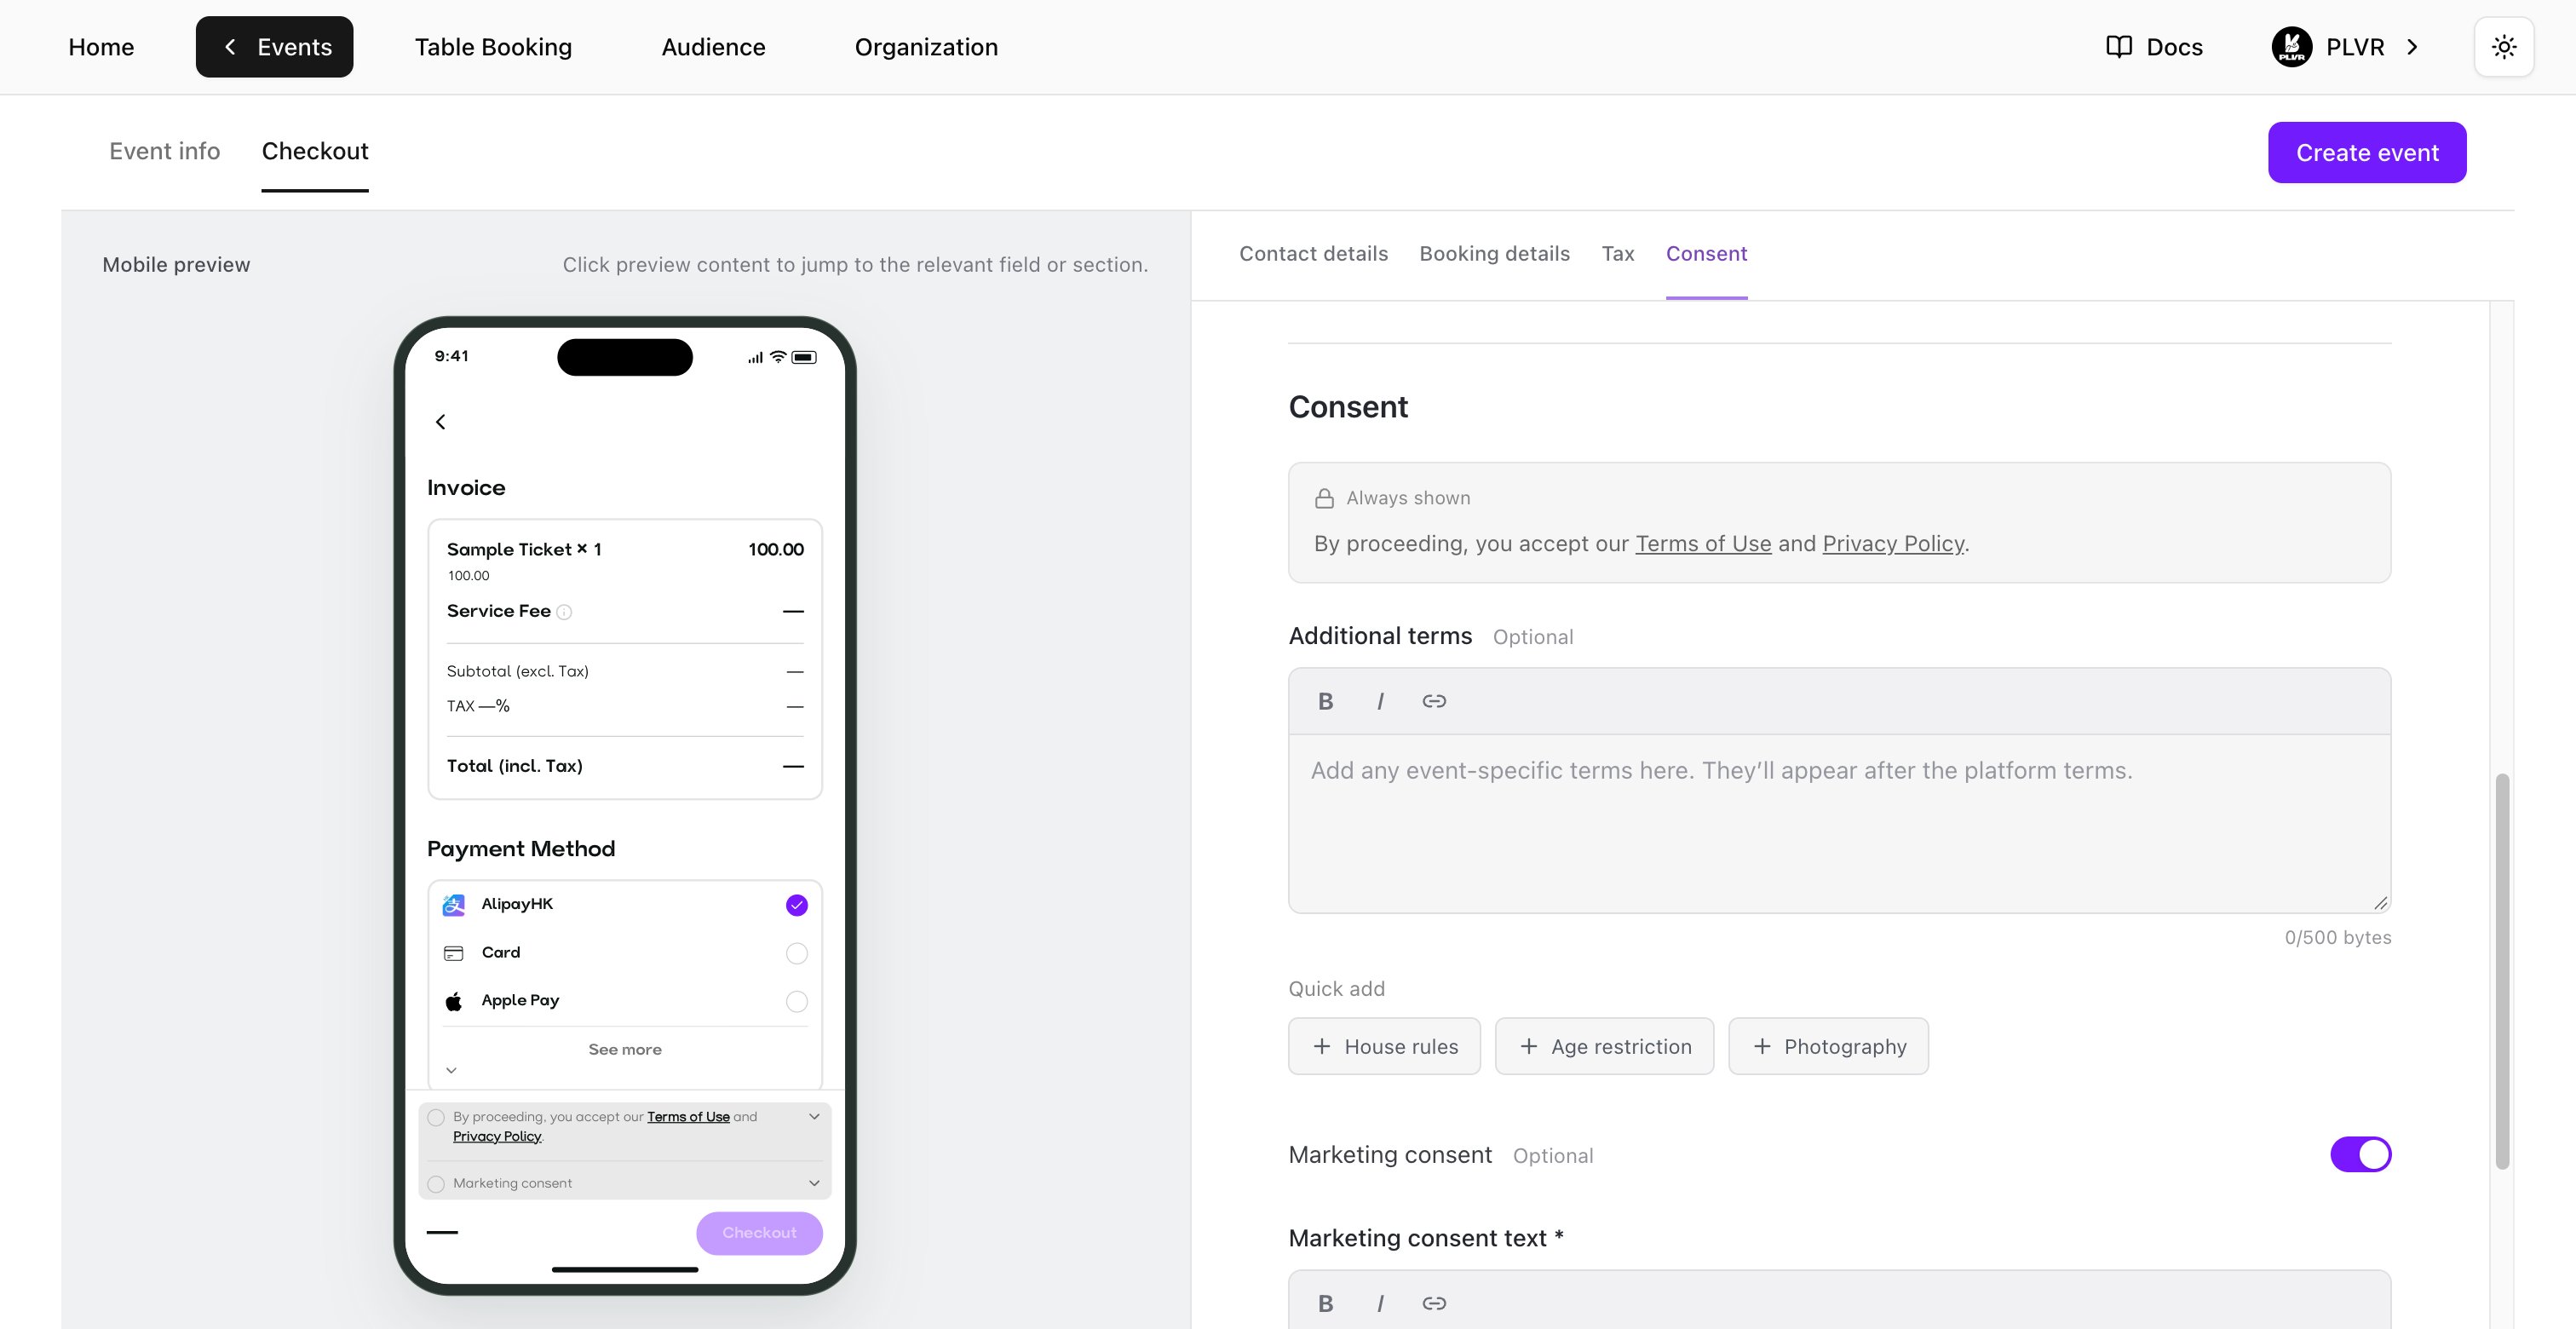
- PLVR terms — The platform’s Terms of Use and Privacy Policy are always shown.
- Additional terms — Add event-specific checkout terms if needed. Use Quick add for templates such as House rules or Photography.
- Marketing consent — Off by default. If you turn it on, enter Marketing consent text. Buyers see an unticked checkbox and can choose to opt in.
Preview and create
- Check the Event URL and Event visibility in the form. Use Mobile preview in both tabs to check the venue, session times, event page and checkout.
- Select Create event. If the form highlights a field, correct it and try again. The event page goes live with the visibility you selected. You can create the event before adding any tickets.
- Ticket Management opens after creation so you can add your first ticket. To update the event page or checkout later, open Event editor.